Home > News > Company News
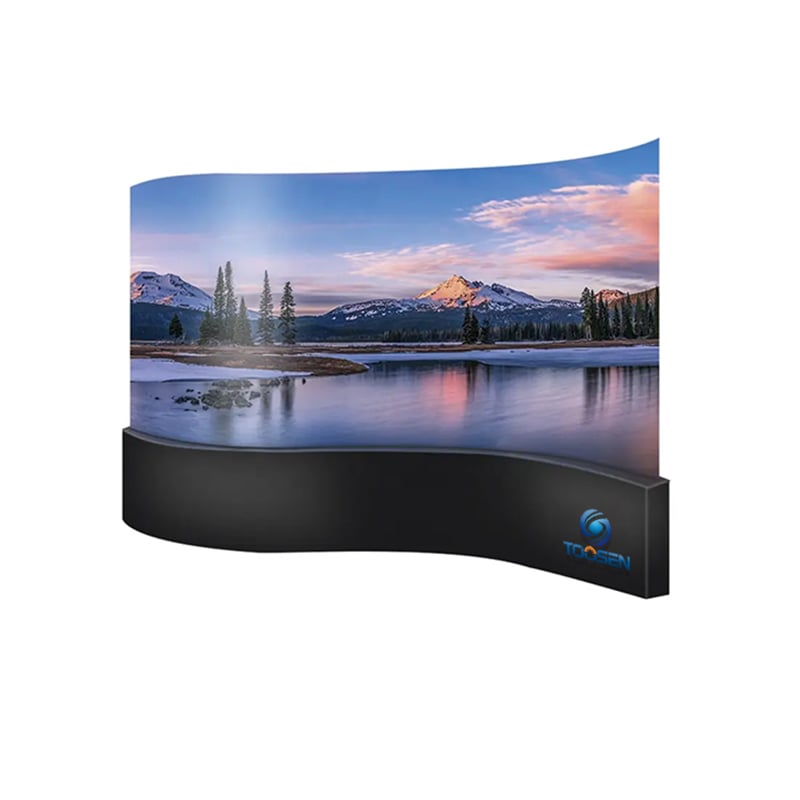
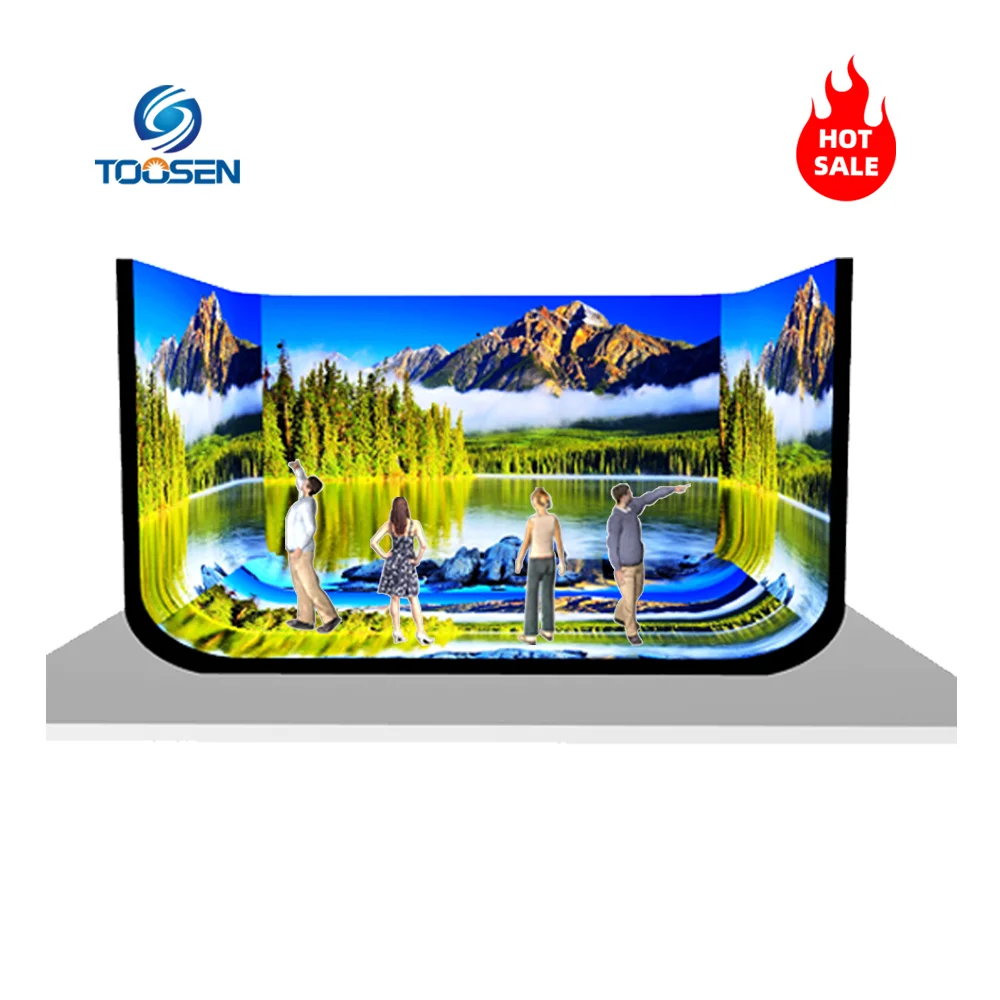
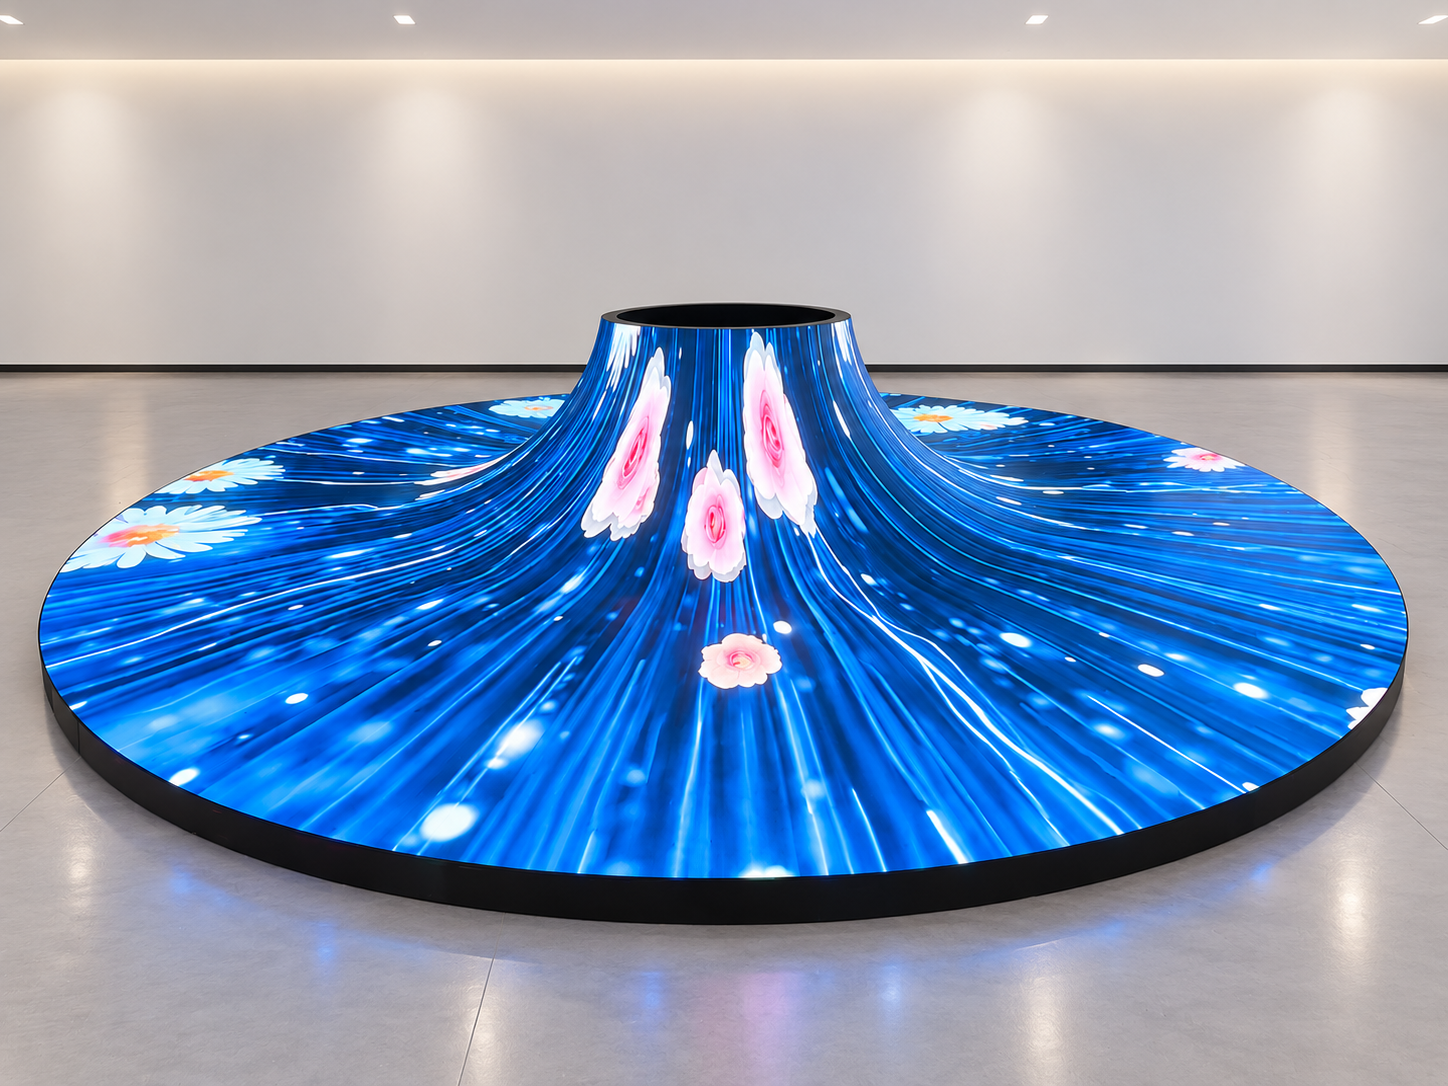
A shaped LED screen is designed to fit a specific space, curve, or creative structure. Unlike a standard flat LED display, it must meet both display quality and structural requirements. Even if every module lights up, problems with alignment, color consistency, or connections may still appear after installation.
A factory acceptance test (FAT) helps buyers identify these issues before shipment. This checklist explains what to inspect, which tests to request, and how to confirm that your custom LED screen is ready for delivery.
A shaped LED screen often uses custom modules, supporting frames, and control settings. Once the equipment arrives at the installation site, correcting a problem can mean extra labor, delayed installation, and higher shipping costs.
Common issues include uneven screen surfaces, dead pixels, inconsistent colors, unstable signals, and missing accessories. For curved or spherical displays, incorrect alignment can also affect the overall shape.
A proper FAT allows buyers to check the finished product against the approved drawings, technical specifications, and purchase order before giving shipment approval.
Before testing begins, make sure the factory has prepared the correct product.
Check the following items:
Screen dimensions and shape: Confirm the diameter, radius, height, width, or other custom measurements.
Pixel pitch and resolution: Ensure they match the approved design.
Installation structure: Check mounting points, brackets, connection methods, and service access.
Electrical specifications: Confirm the input voltage, power supply configuration, and cable requirements.
Control system: Verify the controller, receiving cards, signal connections, and display mapping.
Accessories and spare parts: Compare the actual quantities with the agreed packing list.
For a custom-shaped LED display, checking the drawings is just as important as checking the screen itself.
After confirming the specifications, inspect the modules, cabinets, and supporting structure.
Look for damaged LED lamps, scratches, loose screws, deformed frames, poorly fitted connectors, and exposed or damaged cables. Check whether module edges and mounting points fit together correctly.
For curved, circular, or spherical screens, pay special attention to the surface shape. Uneven module spacing or an incorrect frame radius may create visible gaps, waves, or distorted images.
Where possible, assemble the screen on the actual project structure or a representative test frame. This gives a more reliable result than checking individual modules on a flat workbench.
A screen that turns on is not necessarily ready for shipment. Use test patterns to identify defects that normal promotional videos may hide.
The factory should display:
Red, green, blue, white, and black screens.
Gray gradients to check brightness transitions.
Grid patterns and fine lines to identify alignment problems.
Text, images, and moving video to check normal playback.
Inspect for dead or stuck pixels, color differences, uneven brightness, flickering, and visible seams. Confirm that the image follows the correct mapping across the entire shaped display.
Also check signal connections and power stability during operation. The screen should start normally, display content consistently, and recover correctly after an agreed restart test.
Acceptance limits for brightness, color uniformity, and pixel defects should be confirmed before the FAT, based on the product specifications and project requirements.
Continuous operation helps reveal intermittent faults that may not appear during a short demonstration.
Ask the factory to run the agreed aging test and record its duration, operating conditions, and any problems found. Check whether the screen develops flickering, unexpected shutdowns, abnormal colors, or signal interruptions.
After any repair, the affected modules should be retested. For projects with custom structures, perform a final assembled-screen test whenever practical.
Before approval, request clear photos or videos of the actual product, along with the test report and relevant configuration files.
The inspection is not complete until the shipment is ready.
Confirm that all agreed controllers, power supplies, signal cables, mounting hardware, spare modules, and other accessories are included.
Inspect the packaging for suitable cushioning, corner protection, and secure fixing. Custom-shaped components may need specially arranged packaging to prevent pressure or movement during transport.
Finally, check the carton labels, package quantities, packing list, and shipping marks. Keep photos of the finished screen and packed goods for reference during delivery and installation.
Q1: Can the factory test a shaped LED screen before final installation?
Yes. Individual modules and components can be tested separately, but an assembled test using the actual structure or a representative frame provides better evidence of alignment and overall performance.
Q2: How long should the aging test last?
The duration depends on the product, contract, and project requirements. Agree on the test period and acceptance criteria with the supplier before production is completed.
Q3: What should buyers request before approving shipment?
Request the completed FAT checklist, test report, operating photos or videos, configuration files where applicable, confirmed packing list, and records of any defects and retests.
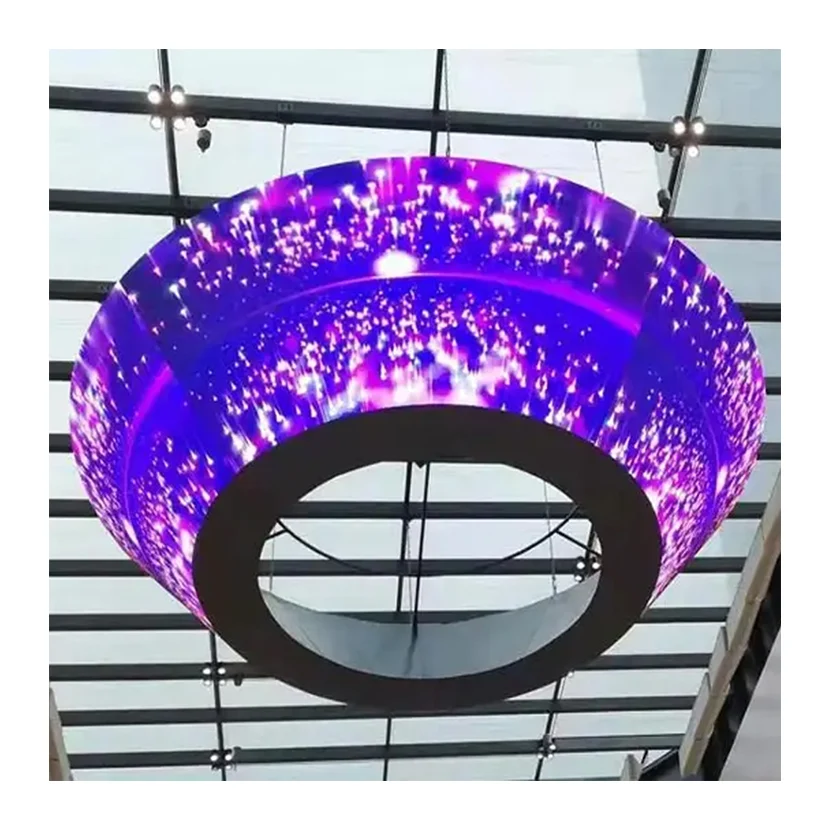
TOOSEN provides LED display solutions for creative applications, including shaped, flexible, and spherical screens. Our project experience includes a P2.5 flexible LED display installed in a suspended circular design for an entertainment venue in California, USA.
For custom projects, product selection, structural design, control configuration, and factory testing all need to work together. Checking these details before shipment helps reduce installation adjustments and gives buyers a clearer picture of what they will receive.
Planning a curved, circular, or other custom-shaped LED display? Visit TOOSEN to explore our products and discuss your project requirements.
 EN
 AR
 BG
 HR
 CS
 DA
 NL
 FI
 FR
 DE
 EL
 HI
 IT
 JA
 KO
 NO
 PL
 PT
 RO
 RU
 ES
 SV
 TL
 ID
 SR
 UK
 VI
 ET
 HU
 TH
 TR
 FA
 AF
 MS
 GA
 HY
 AZ
 MN
 UZ