Home > News > Company News
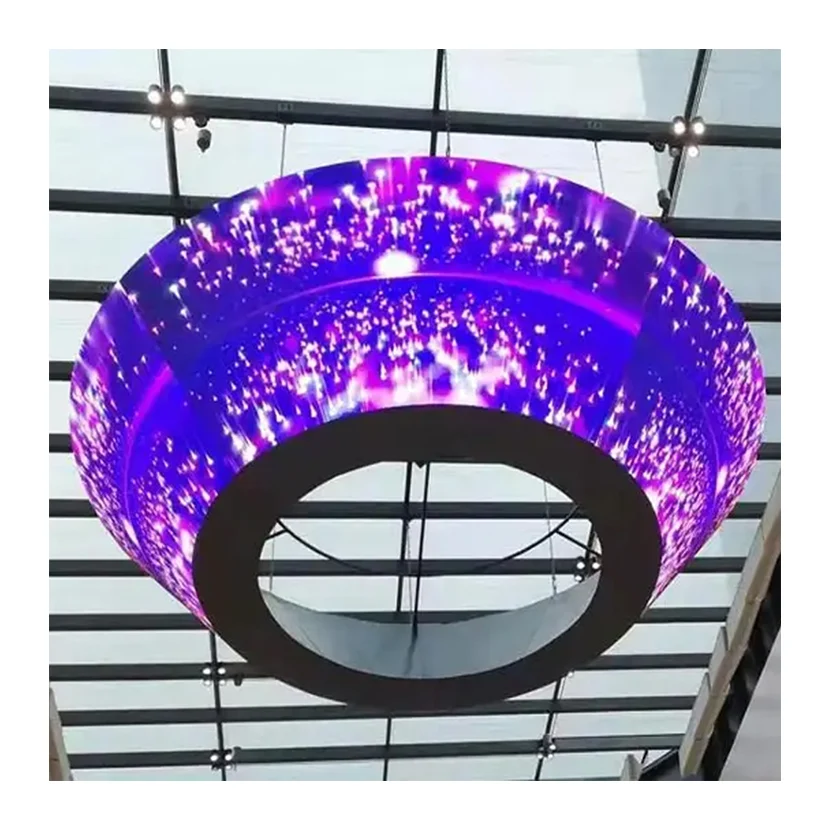
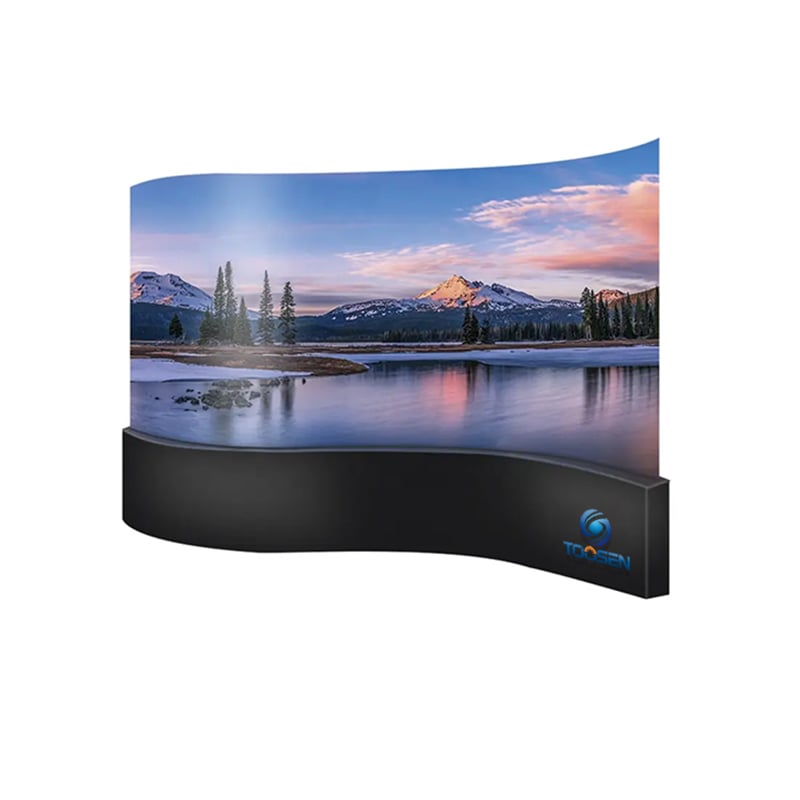
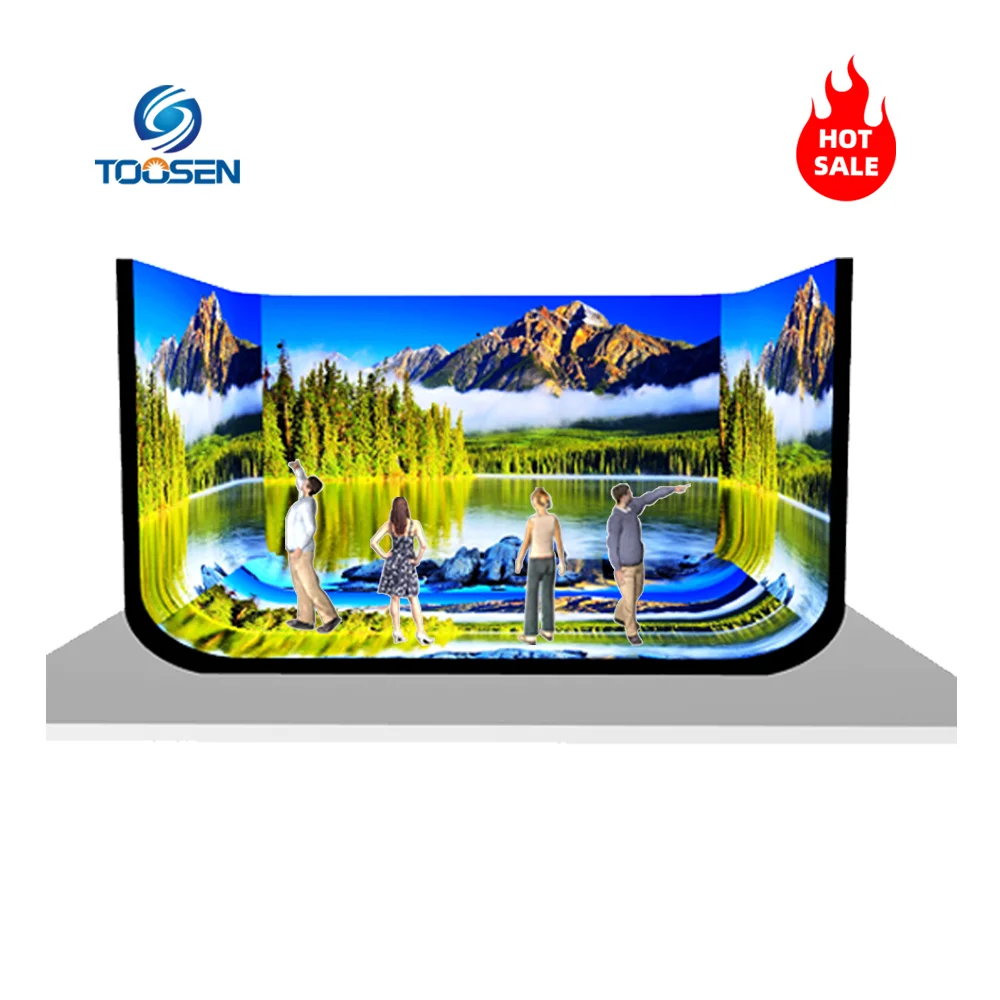
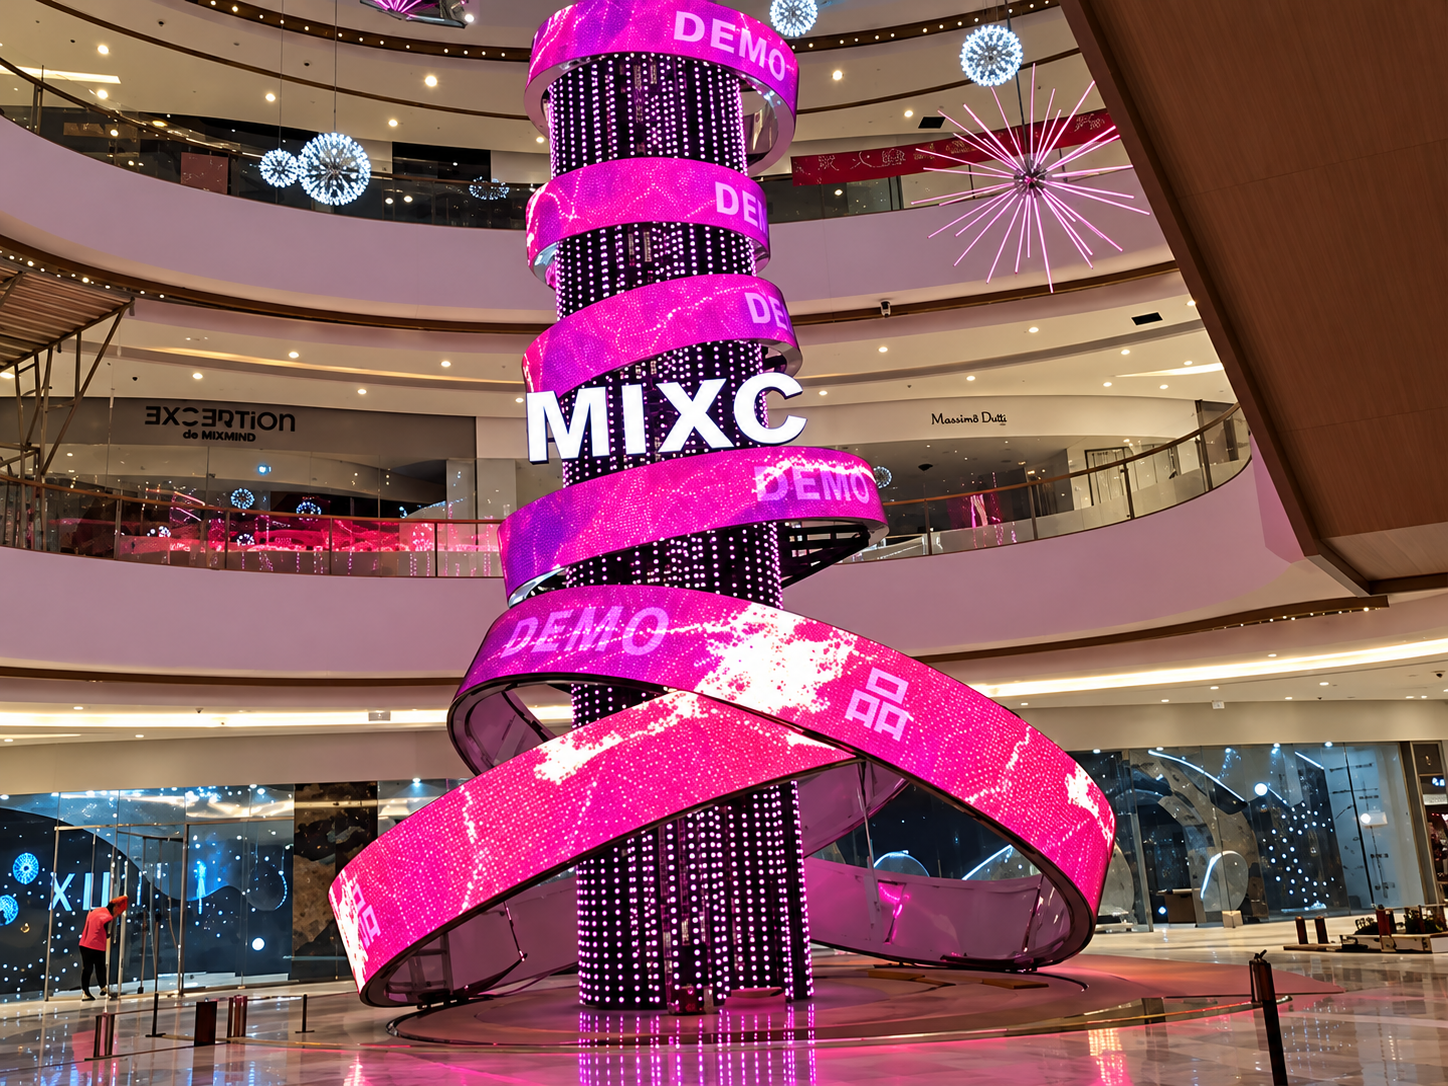
Flexible LED screens are widely used in shopping malls, event venues, exhibition halls, retail stores, and curved architectural displays. Their flexible design makes it possible to create unique shapes, but it also means that maintenance requires more attention than a standard flat LED display.
For venue operators, unexpected screen failures can interrupt events and affect the visitor experience. For system integrators, poor maintenance can lead to repeat service calls, longer downtime, and higher repair costs.
A simple, regular maintenance routine helps keep a flexible LED screen working properly and extends its service life. Here is a practical checklist for daily inspections, troubleshooting, and long-term care.
Flexible LED screens contain LED modules, power supplies, receiving cards, signal cables, connectors, and mounting structures. A problem in any of these components can affect the display.
Common warning signs include dead pixels, flickering images, uneven brightness, color differences, loose modules, and unexpected shutdowns.
Ignoring these signs can turn a small issue into a larger repair job. In busy venues, even a short interruption may affect an event or advertising schedule. Regular inspections help identify problems early and reduce unnecessary downtime.
Use the following checklist as a starting point. The inspection frequency should be adjusted to the operating environment and the manufacturer's instructions.
Check the display image: Look for black spots, flickering, abnormal colors, and image distortion.
Check brightness and color: Make sure the image looks consistent across the entire screen.
Listen for unusual noise: Check cooling fans and power equipment for unexpected sounds.
Check the operating environment: Look for excessive heat, moisture, dust, or blocked ventilation.
Review system alerts: Check the control software for communication errors or abnormal operating status.
Inspect module alignment: Look for uneven surfaces, visible gaps, or modules that appear loose.
Check cables and connectors: Look for damaged insulation, loose connections, or signs of overheating.
Inspect the mounting structure: Check accessible brackets, fasteners, and support points for movement or damage.
Clean the screen surface: Remove dust with a soft, dry, lint-free cloth, following the manufacturer's cleaning instructions.
Record recurring issues: Note the affected module, location, symptoms, and time of occurrence.
Never bend, pull, or press a flexible module aggressively to correct unevenness. Excessive force can damage the module or its connections.
Understanding the symptoms helps maintenance teams identify the right solution.
| Problem | Possible cause | Recommended action |
|---|---|---|
| Dead pixels or dark areas | Damaged LEDs or module faults | Identify the affected module and inspect it |
| Flickering images | Loose signal connections or unstable power | Check connections and power conditions |
| Uneven brightness | Different settings, aging, or module variation | Check configuration and compare affected modules |
| Color differences | Calibration issues or component faults | Verify settings and perform color correction if supported |
| Modules not sitting flat | Incorrect mounting or uneven adjustment | Check alignment and mounting points |
| Screen overheating | Blocked ventilation or equipment faults | Inspect airflow and operating conditions |
These are common possibilities rather than definitive diagnoses. Always check the manufacturer's troubleshooting instructions before replacing components.
When a fault occurs, follow a consistent process instead of replacing parts immediately.
Step 1: Locate the problem. Use the control system, test patterns, and visual inspection to identify the affected area.
Step 2: Check the connections. Inspect the relevant power and signal paths. Before opening equipment or handling electrical components, isolate the power and follow approved safety procedures.
Step 3: Replace faulty components if necessary. If a module or other component is confirmed to be defective, replace it with a compatible part according to the manufacturer's instructions.
Step 4: Restore the display settings. Check module configuration, receiving card settings, brightness, and color calibration where applicable.
Step 5: Run a complete test. Display solid red, green, blue, white, and black patterns. Then test gradients, text, and moving video. Check for dead pixels, flickering, color differences, and signal interruptions.
Step 6: Record the repair. Document the fault, replacement parts, test results, and any follow-up work required.
A repair is not complete until the affected area works correctly and the surrounding display remains stable.
A well-prepared maintenance team can resolve many problems faster. Keep a suitable set of spare LED modules, compatible power supplies, receiving cards, signal cables, and connectors available for the installed screen model.
Useful tools include a laptop with the correct control software, basic inspection tools, and approved cleaning materials. Integrators should also keep wiring diagrams, module layouts, configuration files, and installation records.
Flexible LED screens may use magnetic mounting or other specialized structures. Always confirm the correct removal method before servicing a module. Never force a module out of position or bend it beyond the specified radius.
Maintenance priorities depend on where the screen is installed.
Shopping malls and retail stores: Check image quality, surface cleanliness, and mounting stability regularly because the display operates close to visitors.
Concerts and event venues: Inspect modules, connectors, and signal paths before each event, especially after transportation or reinstallation.
Exhibition halls: Test the entire display before an exhibition opens and keep compatible spare parts ready for urgent repairs.
Outdoor installations: Follow the specified weather-protection requirements and inspect seals, connectors, and mounting structures. Do not assume an indoor-rated screen is suitable for outdoor use.
For curved and cylindrical displays, also check whether the modules remain correctly aligned with the supporting structure.
How often should a flexible LED screen be maintained?
Perform basic visual checks daily, more detailed inspections weekly, and scheduled preventive maintenance according to the manufacturer's recommendations and the operating environment.
Can a flexible LED module be replaced individually?
In many modular designs, yes. However, compatibility, access, and the approved replacement procedure depend on the specific screen model.
What should I do if the screen flickers during an event?
Check system alerts and signal status first. If the problem persists, follow the approved troubleshooting procedure. Avoid opening powered equipment or attempting repairs while the screen is operating.
How can I reduce unexpected downtime?
Keep maintenance records, inspect the screen regularly, train operators to recognize warning signs, and stock compatible spare parts.
Maintenance begins with the right product and installation design. TOOSEN specializes in LED display manufacturing, including flexible LED screens and customized display structures. Its flexible screen solutions support curved and creative installations, with front or rear maintenance options available on applicable models.
For venues and integrators, choosing a screen with suitable access, compatible spare parts, and clear technical support can make future maintenance much easier.
Before purchasing, confirm the bending limits, protection rating, installation method, maintenance access, and spare-parts requirements for your project.
Need a flexible LED screen for your next project? Visit TOOSEN to explore its flexible LED screen solutions and discuss your installation and maintenance requirements with the team.
 EN
 AR
 BG
 HR
 CS
 DA
 NL
 FI
 FR
 DE
 EL
 HI
 IT
 JA
 KO
 NO
 PL
 PT
 RO
 RU
 ES
 SV
 TL
 ID
 SR
 UK
 VI
 ET
 HU
 TH
 TR
 FA
 AF
 MS
 GA
 HY
 AZ
 MN
 UZ