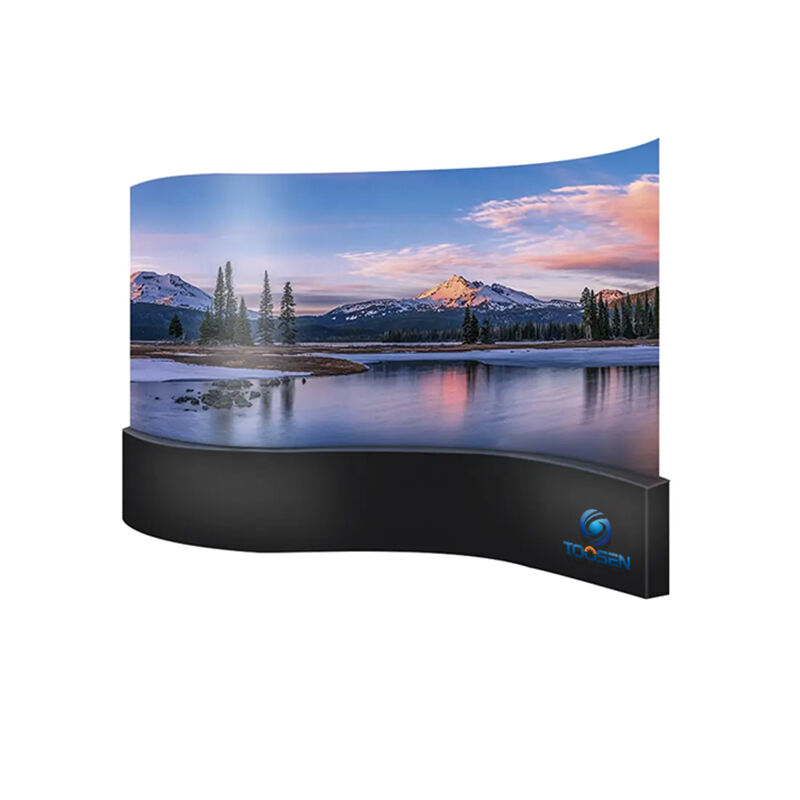
Home > News > Industry News
Cube LED displays attract attention instantly because they deliver immersive 3D visual effects from multiple viewing angles. However, creating the correct configuration file for a cube LED screen requires careful planning, accurate mapping, and proper controller setup. This guide explains the complete process step by step.
A configuration file stores all essential display parameters, including:
Without a correct configuration file, the cube screen cannot display synchronized content properly.
First, define the cube dimensions.
For example:
Then one side resolution becomes:
Since a cube contains multiple faces, technicians must calculate every surface independently.
Next, label every cabinet physically.
Professional installers usually:
This process prevents mapping confusion during software configuration.
Open the LED control software and configure:
Then upload smart settings to all receiving cards.
If one receiving card uses incorrect parameters, the entire cube face may display abnormal content.
Cube LED screens require multi-face mapping.
Technicians usually create:
Some advanced projects also use:
This approach ensures seamless video playback across connected cube surfaces.

Different cube faces often require different rotation angles.
For example:
Incorrect rotation settings create:
Therefore, verify every face carefully using test patterns.
After finishing all settings:
Most LED control systems support exporting:
Backup files simplify future maintenance significantly.
Finally, test the cube display using:
Check:
Only after completing these tests should operators deploy commercial content.
Creating a cube LED screen configuration file requires accurate cabinet mapping, correct receiving card parameters, and precise face rotation settings. When technicians organize topology carefully and verify every coordinate systematically, cube LED displays can deliver stunning immersive visual effects with stable long-term performance.
 EN
EN
 AR
AR
 BG
BG
 HR
HR
 CS
CS
 DA
DA
 NL
NL
 FI
FI
 FR
FR
 DE
DE
 EL
EL
 HI
HI
 IT
IT
 JA
JA
 KO
KO
 NO
NO
 PL
PL
 PT
PT
 RO
RO
 RU
RU
 ES
ES
 SV
SV
 TL
TL
 ID
ID
 SR
SR
 UK
UK
 VI
VI
 ET
ET
 HU
HU
 TH
TH
 TR
TR
 FA
FA
 AF
AF
 MS
MS
 GA
GA
 HY
HY
 AZ
AZ
 MN
MN
 UZ
UZ