Home > News > Company News
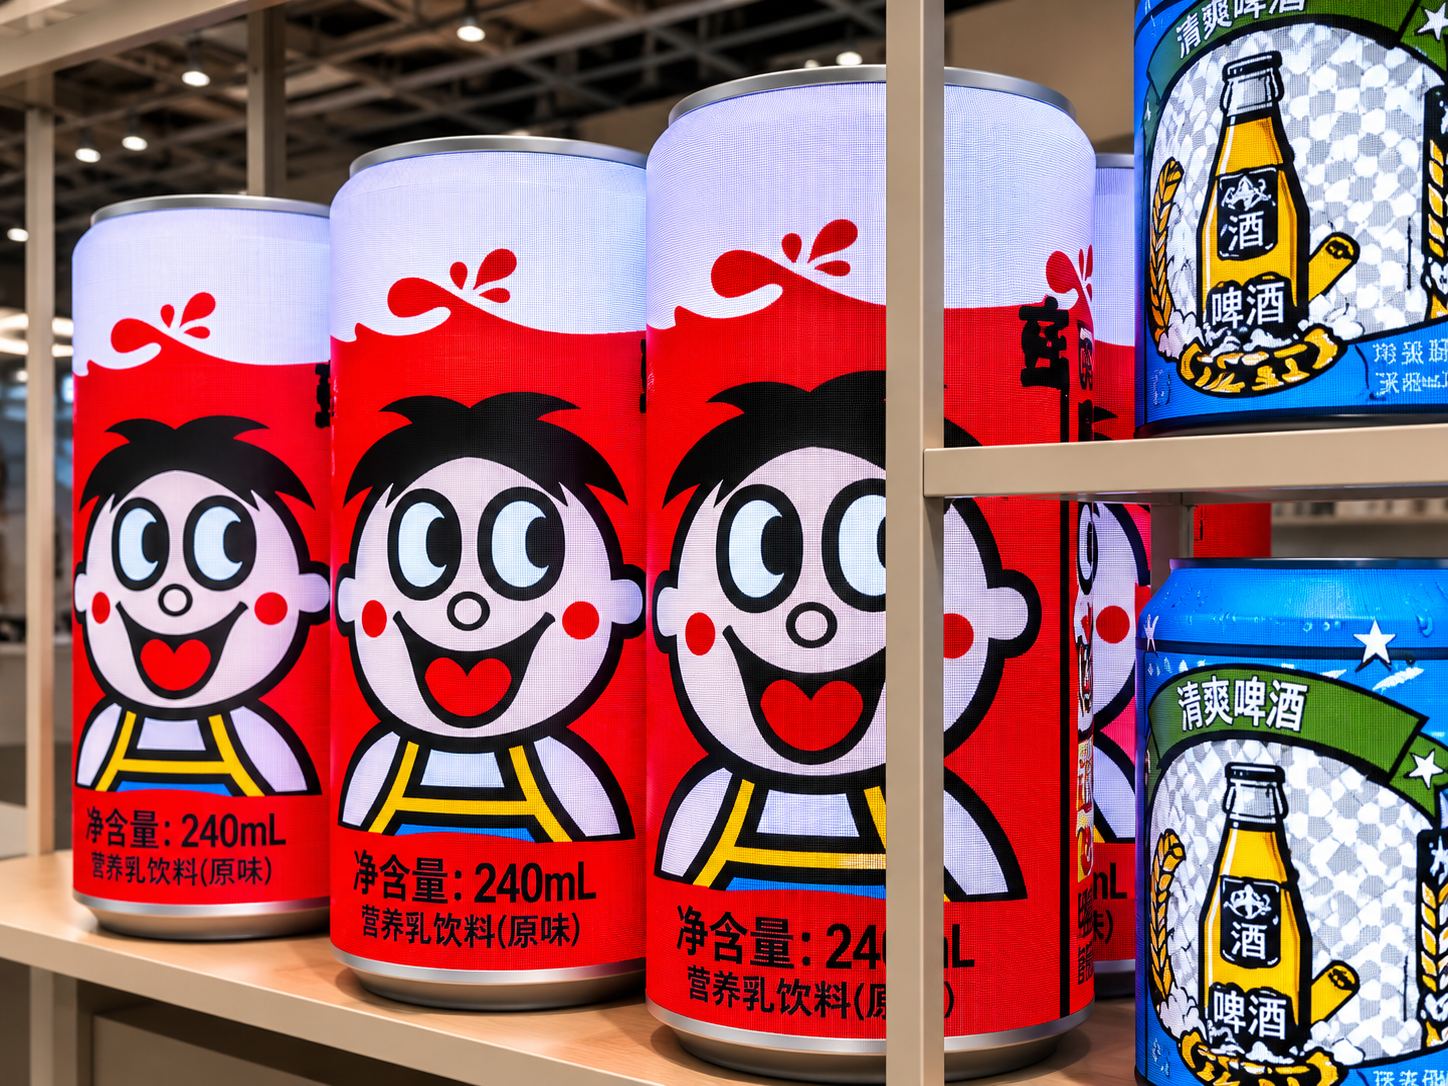
A can-shaped LED display is often installed in shopping malls, retail stores, exhibition halls, and commercial spaces. These locations have different lighting conditions throughout the day. A screen that looks comfortable in a dim showroom may become too bright near a storefront window. On the other hand, a display with low brightness may lose visibility under strong lighting.
Automatic brightness adjustment helps solve this problem. However, installing an ambient light sensor does not mean the system will work correctly. The sensor must detect surrounding light accurately, and the control system must respond at the right time.
During commissioning, buyers and technicians should test the complete brightness control process instead of checking only whether the sensor is connected.
An ambient light sensor measures the light around the display and sends information to the control system. The system then adjusts the LED screen brightness according to preset settings.
If the calibration is incorrect, several problems may appear:
The screen remains too bright in a dark room.
Content becomes difficult to see under strong daylight.
Brightness changes too frequently.
Different operating periods produce inconsistent visual results.
For a commercial can-shaped LED display, these problems can affect product presentation and customer experience. A beverage advertisement, for example, needs clear colors and comfortable brightness to maintain the appearance of the original packaging.
Before adjusting the settings, technicians should identify possible sources of inaccurate readings.
Sensor installation position
If the sensor faces the LED screen directly, the light emitted by the display may affect its readings. Reflections from glass, metal surfaces, or nearby lighting fixtures can also cause incorrect measurements.
Different lighting directions
Ambient light does not always reach the sensor evenly. A sensor placed on one side of a cylindrical display may receive different light levels from another side.
Incorrect sensitivity settings
Some control systems allow technicians to configure brightness levels according to measured illumination. If the sensitivity or brightness thresholds are unsuitable, the display may react too slowly or become unnecessarily bright.
Unstable control connections
Loose cables, incorrect configuration, or communication problems between the sensor and controller may prevent the brightness adjustment command from reaching the display.
A practical calibration process should include three main steps.
Step 1: Check the sensor position
Confirm that the sensor is securely installed and exposed to representative ambient lighting. Avoid placing it directly in front of the LED surface or close to a strong spotlight.
For a can-shaped LED display, technicians should also consider the cylindrical structure and the actual viewing environment.
Step 2: Set brightness levels
Configure several brightness levels for different lighting conditions. For example, the control system may use separate settings for dim indoor environments, normal indoor lighting, and bright storefront conditions.
The actual thresholds should be determined according to the display specifications, installation location, and viewing requirements.
Step 3: Adjust response time
The screen should not change brightness every time someone walks past a light source. Set an appropriate response delay or filtering function if supported by the control system.
This helps prevent unnecessary brightness fluctuations caused by temporary shadows or sudden changes in surrounding light.
Testing under only one lighting condition is not enough. A more reliable approach is to use a lux meter and compare its readings with the sensor output.
Technicians can follow this procedure:
Record the ambient illumination with a lux meter.
Check the sensor reading in the same position.
Test the display under low, medium, and high illumination.
Observe whether the screen brightness changes in the correct direction.
Repeat each test several times to check consistency.
Record the final settings and test results.
For example, technicians can simulate changes from a dim indoor environment to normal commercial lighting and then to a brighter storefront environment.
The display should increase brightness when ambient light rises and reduce brightness when the environment becomes darker.
It is also important to test gradual lighting changes. If brightness jumps repeatedly between two levels, the response settings may need further adjustment.
A commissioning report should include lux readings, sensor readings, screen brightness settings, response time, and any manual adjustments.
Automatic brightness control depends on more than the sensor itself. Several components work together:
Ambient light sensor: Detects surrounding illumination.
LED control system: Processes brightness adjustment commands.
Receiving cards: Receive and execute display control signals.
Power supply: Provides stable electrical power to the display.
LED modules: Produce the final image at the adjusted brightness level.
For a custom can-shaped LED display, technicians should also check whether the sensor position remains suitable after the complete structure and protective housing have been installed.
A sensor that works correctly during factory testing may produce different readings after installation because the surrounding lighting conditions have changed.
In shopping malls, can-shaped LED displays are often used for beverage advertising and brand promotion. Automatic brightness control helps maintain comfortable viewing conditions under changing indoor lighting.
In storefronts, sunlight and artificial lighting may vary throughout the day. Proper calibration helps the display maintain suitable visibility without operating at unnecessarily high brightness.
In exhibitions and brand showrooms, lighting arrangements may change between events. A correctly configured sensor can reduce the need for frequent manual brightness adjustments.
For these projects, buyers should confirm whether automatic brightness control is supported by the selected control system and whether the sensor is included in the supplied configuration.
Q1: Where should an ambient light sensor be installed?
It should be placed where it can detect representative environmental light. Avoid direct LED light, strong reflections, and isolated spotlights.
Q2: Can automatic brightness control replace manual adjustment?
Not completely. Automatic control handles normal lighting changes, while manual adjustment is useful for special events, maintenance, and specific display requirements.
Q3: How often should the sensor be calibrated?
Calibration should be completed during commissioning. It should also be checked after sensor relocation, lighting changes, or control system replacement.
Q4: Why does the screen brightness keep changing?
Possible reasons include unstable sensor readings, reflections, unsuitable sensitivity settings, or insufficient response filtering.
Q5: Should the sensor be tested before or after installation?
Both are recommended. Factory testing checks basic functionality, while on-site commissioning verifies performance under actual environmental lighting conditions.
TOOSEN specializes in customized LED display solutions, including can-shaped, bottle-shaped, cylindrical, spherical, and other special-shaped LED screens.
With OEM and ODM capabilities, TOOSEN supports customized screen dimensions, pixel pitches, structural designs, and application requirements. Our engineering team provides technical assistance throughout product design, manufacturing, installation guidance, and commissioning.
For projects requiring automatic brightness adjustment, buyers can discuss sensor configuration, control system compatibility, installation position, and commissioning requirements with our technical team before production.
Visit TOOSEN to explore our Can Bottle LED Display Solutions and Shaped LED Displays.
Contact TOOSEN to discuss your project requirements and develop a customized LED display solution.
 EN
 AR
 BG
 HR
 CS
 DA
 NL
 FI
 FR
 DE
 EL
 HI
 IT
 JA
 KO
 NO
 PL
 PT
 RO
 RU
 ES
 SV
 TL
 ID
 SR
 UK
 VI
 ET
 HU
 TH
 TR
 FA
 AF
 MS
 GA
 HY
 AZ
 MN
 UZ