Home > News > Industry News
Image correction is an important step for LED display. It helps the screen show clean, smooth, and accurate colors. Many LED screens may look uneven after long use or because of product differences. Some areas look brighter, darker, or show color shifts. Therefore, we correct the image to make the whole screen look even and natural.
In simple words, LED screen correction means measuring the brightness and color of each LED pixel and then adjusting them one by one. With the correct tools and software, the screen becomes clearer and more balanced. As a result, the viewer sees a sharp and uniform picture.
To help you understand the full process, this article explains why we need correction, how it works, and the two main methods used today. Each part uses simple sentences and smooth transitions to make everything easy to follow.
LED screens must show information clearly. However, over time, the LEDs age, and their brightness changes. Even new LEDs from different batches may look slightly different. Because of this, the picture may show:
Bright spots
Dark spots
Color differences
Uneven panels
These problems reduce the viewing experience. But after correction, the color becomes accurate again. The screen also shows better contrast and smoother tones. Most importantly, the display performs the way it was designed to.
LED screens usually need correction for two major reasons.
First, the brightness and color of each pixel may not match.
Second, the shape of the screen may cause distortion of the image.
Because of this, we use two correction methods:
Pixel-level (per-point) correction
Geometric image correction
Both methods work together to fix different problems.
Pixel-level correction focuses on the LED lamps themselves. Each LED pixel is measured one by one. This method is useful when you want to fix “dirty screen” effects such as uneven brightness, color blocks, or visible patchiness.
The workflow is simple to understand:
A high-precision industrial camera takes photos of the LED screen while it displays pure red, green, blue, and white colors.
The camera reads the real brightness and color value of every LED pixel.
The software compares all the collected data with the target brightness and color.
If one LED is too bright, it gets a lower correction value.
If one LED is too dark or off-color, it gets a higher correction value.
The system generates a correction file that contains thousands of small values.
This file is saved inside the LED controller or receiving card.
From then on, the controller adjusts each pixel in real time.
This ensures that every LED shows the correct brightness and color when the video plays.
A cleaner screen
No “bright dots” or “dark dots”
Smooth color transitions
A better viewing experience
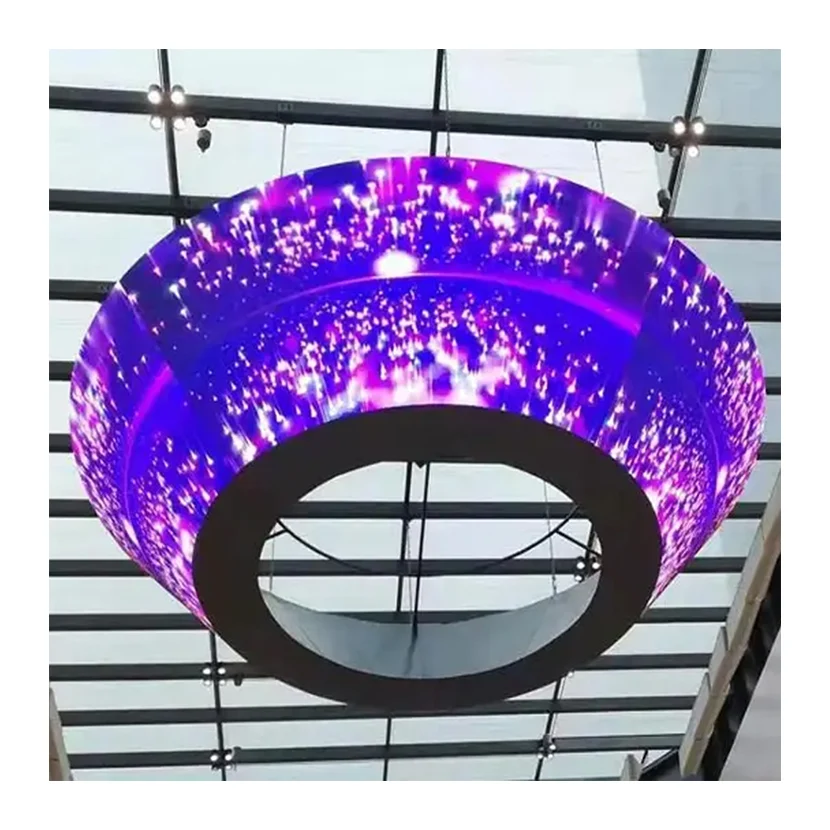
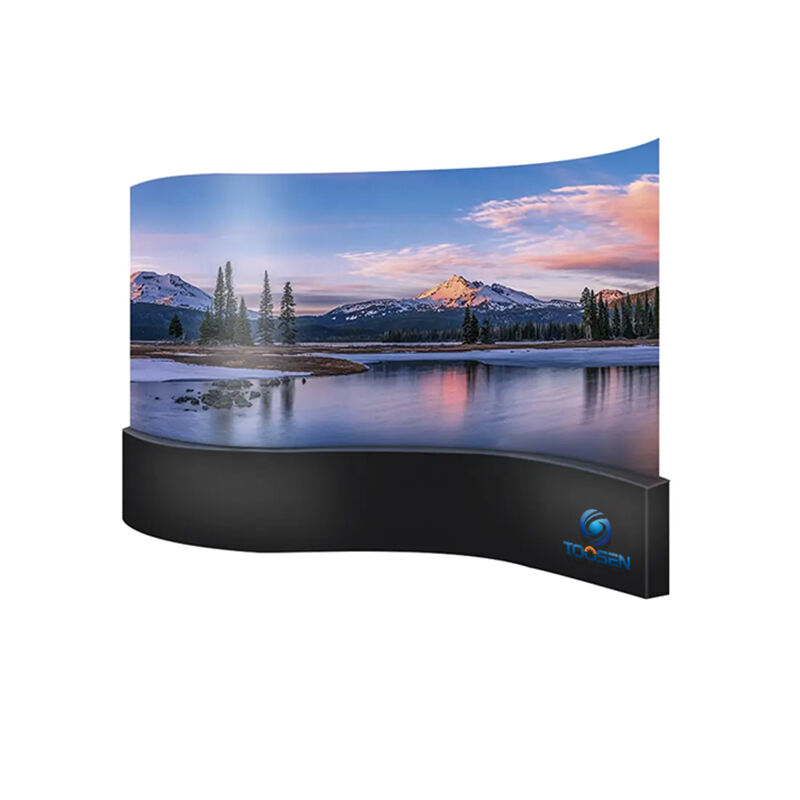
Sometimes the LED screen is not a flat surface. It might be curved, round, wavy, or made from many uneven panels. In this case, even if the colors are correct, the picture can still look distorted. Straight lines may look bent, and shapes may stretch or twist.
This is when geometric correction is needed.
The system scans the screen using cameras or uses a 3D model.
It learns the exact position of every panel and module.
The processor builds a “warp grid,” which is a map that shows how to bend the image before it is sent to the LED screen.
Even small shifts between cabinets can cause edges to misalign.
The system adjusts the picture for each panel so that straight lines look straight again.
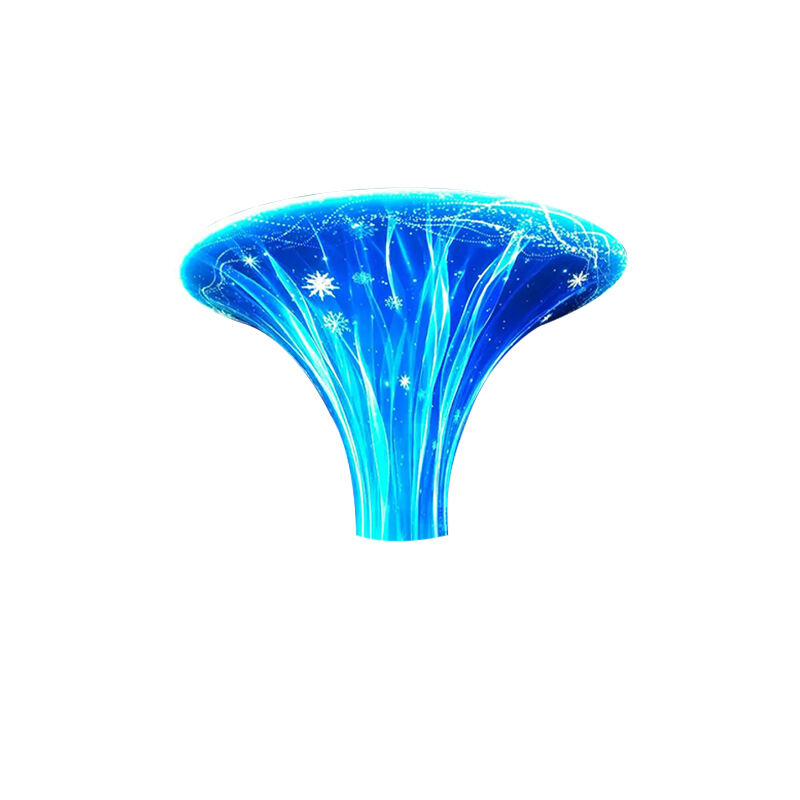
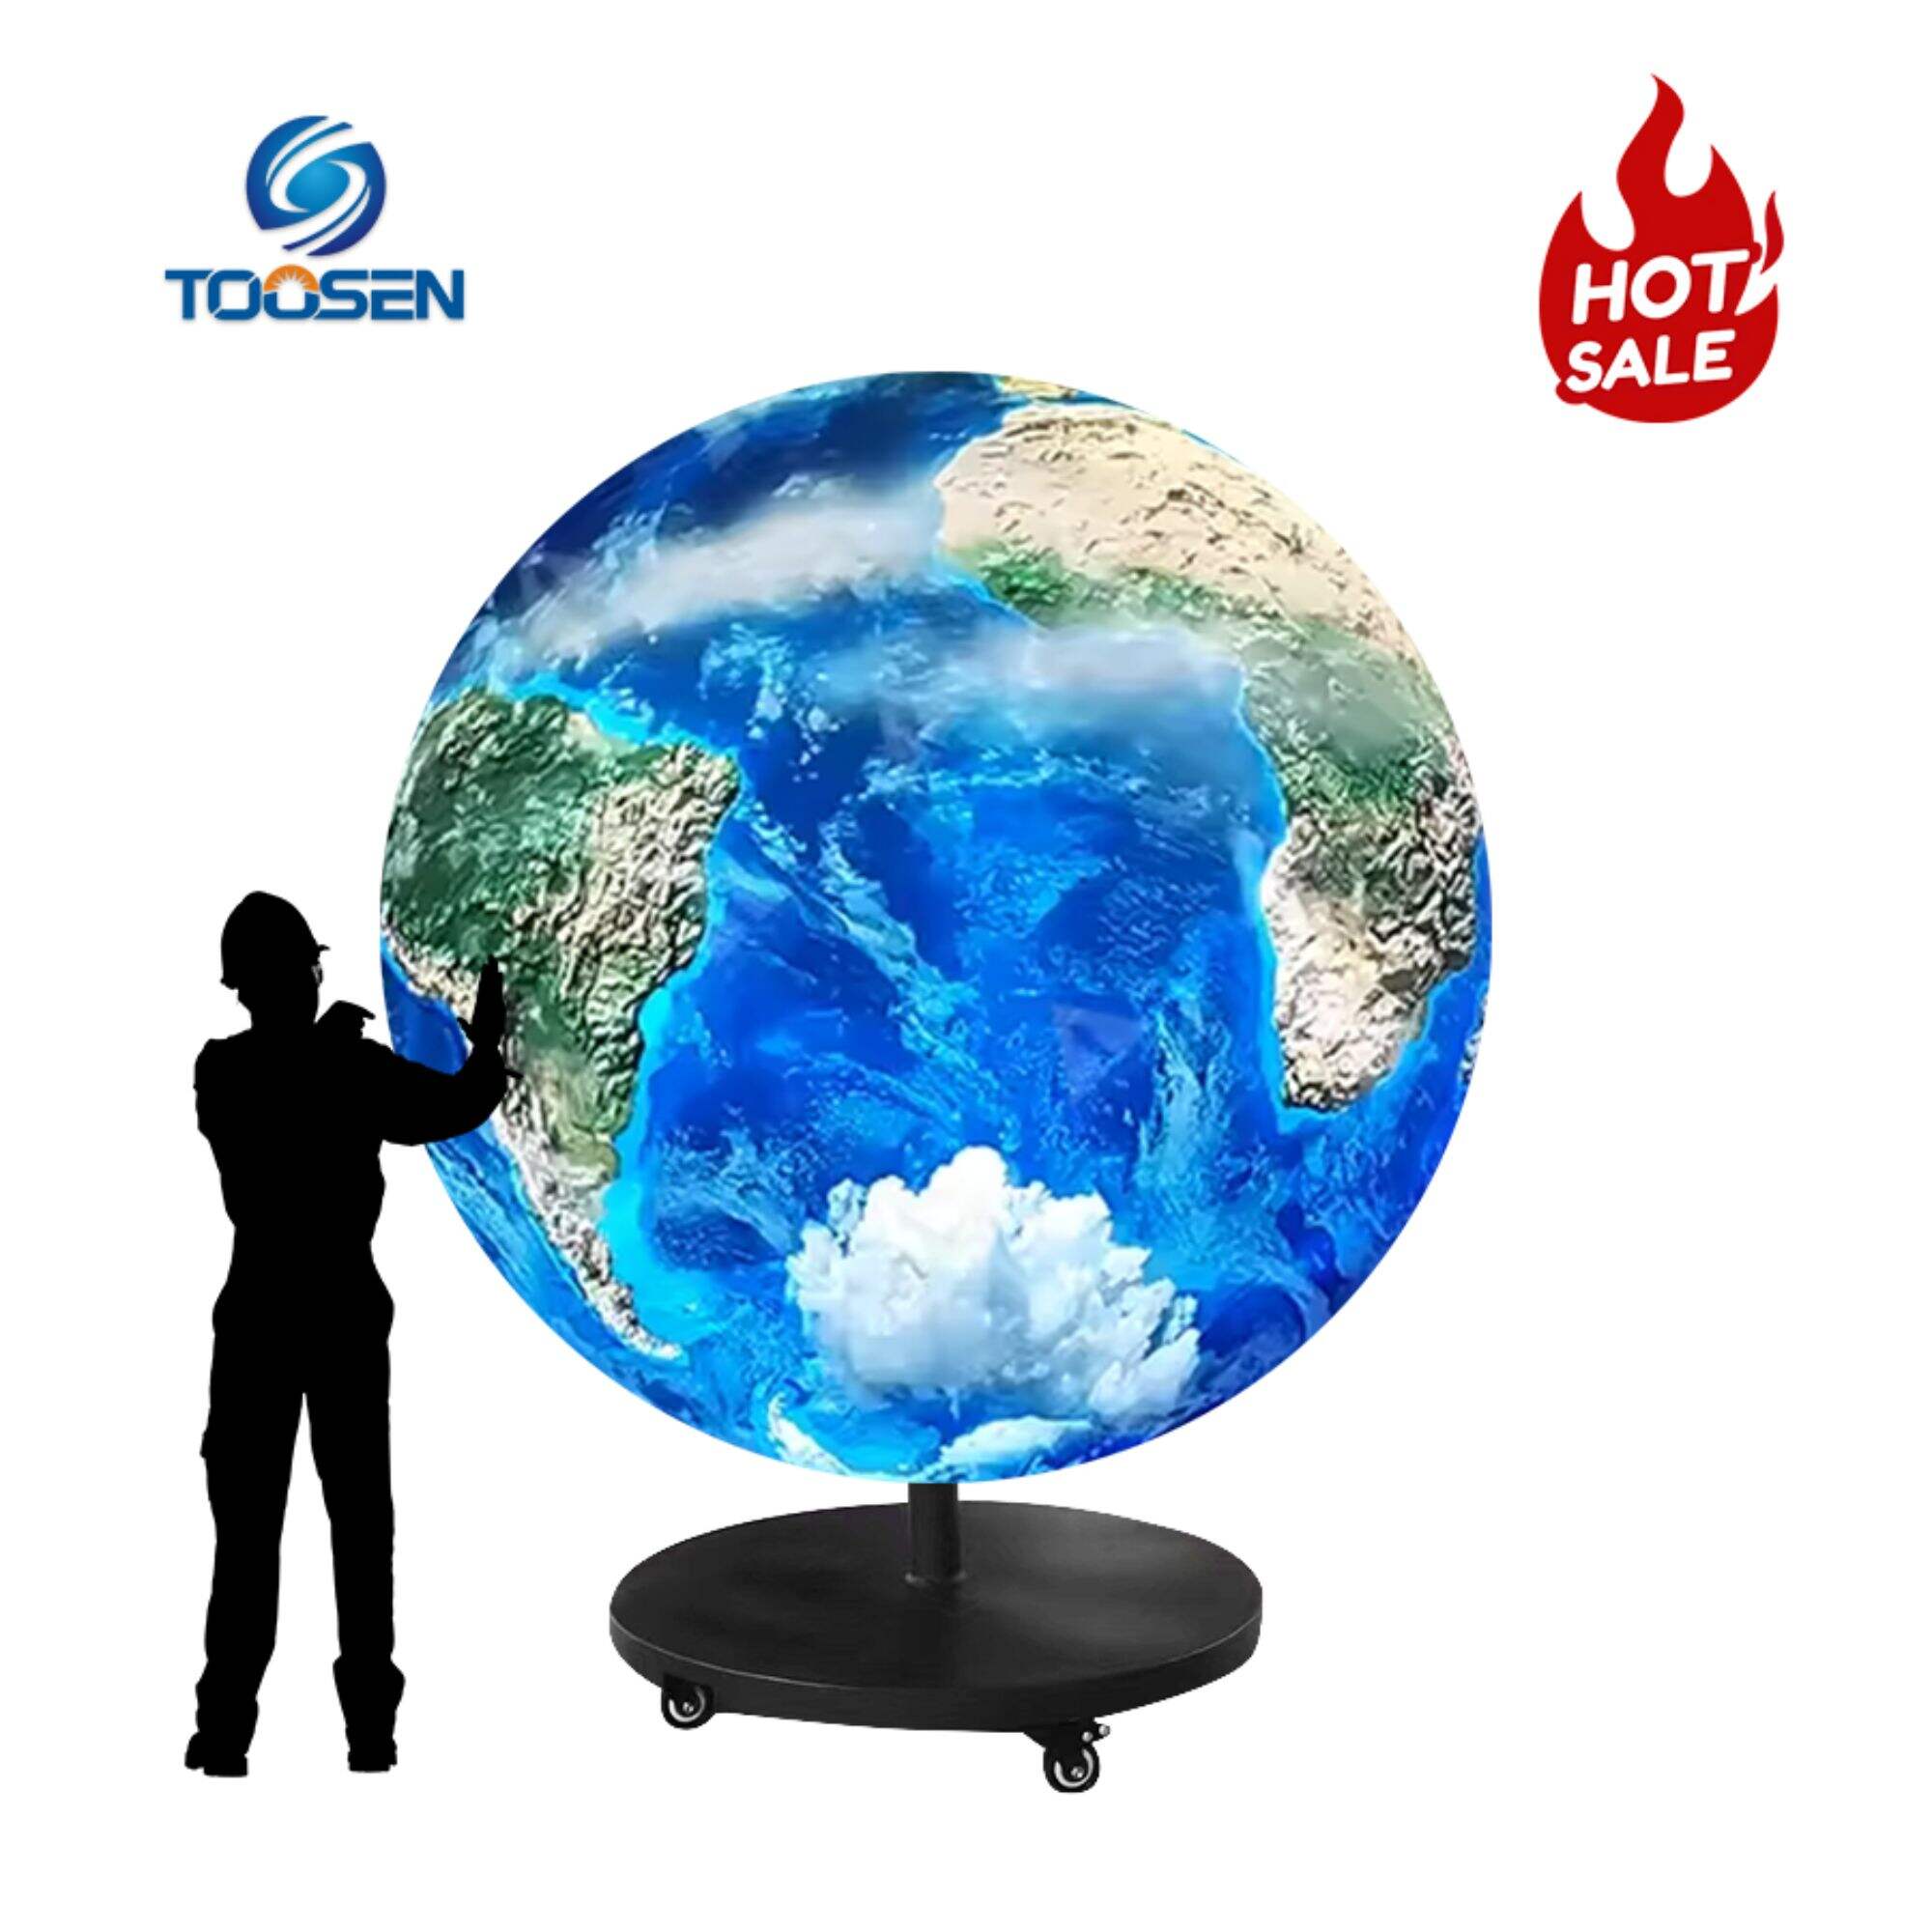
Curved LED displays
Cylindrical LED screens
Sphere screens
Wave screens
Large spliced walls with small offsets
No distortion
No “broken lines” across panels
Smooth curves and shapes
A natural-looking picture on any screen shape
LED image correction is a key step to ensure the best visual performance.
Pixel-level correction improves brightness and color uniformity.
Geometric correction ensures the image looks correct on curved or irregular screens.
When both methods are used together, the display becomes clean, accurate, and pleasant to watch.
If you want your LED screen to show its full power, image correction is the best solution.
You normally need a calibration camera, correction software, and a compatible LED controller. These tools measure and adjust every pixel.
Most screens only need full correction once during installation. However, older screens or high-brightness outdoor screens may need periodic updates.
Sometimes brightness may change slightly, but the picture becomes far more uniform. The improved balance offers a better overall image quality.
 EN
EN
 AR
AR
 BG
BG
 HR
HR
 CS
CS
 DA
DA
 NL
NL
 FI
FI
 FR
FR
 DE
DE
 EL
EL
 HI
HI
 IT
IT
 JA
JA
 KO
KO
 NO
NO
 PL
PL
 PT
PT
 RO
RO
 RU
RU
 ES
ES
 SV
SV
 TL
TL
 ID
ID
 SR
SR
 UK
UK
 VI
VI
 ET
ET
 HU
HU
 TH
TH
 TR
TR
 FA
FA
 AF
AF
 MS
MS
 GA
GA
 HY
HY
 AZ
AZ
 MN
MN
 UZ
UZ