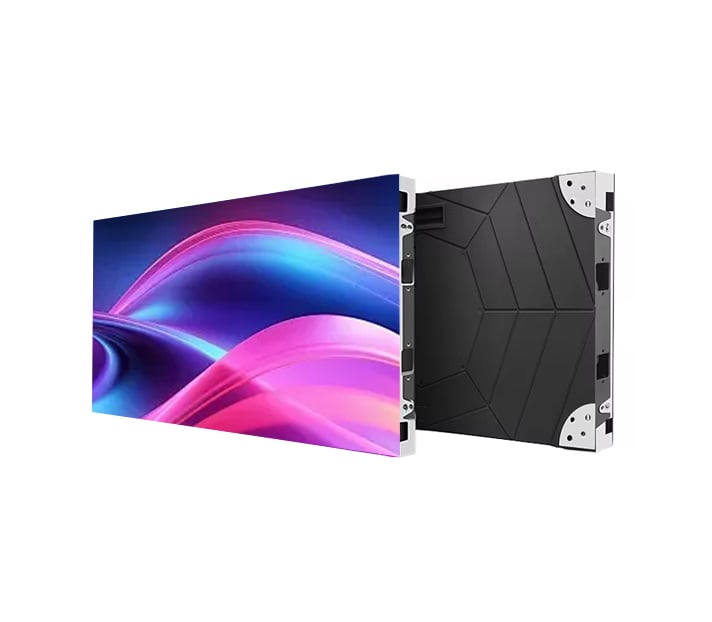
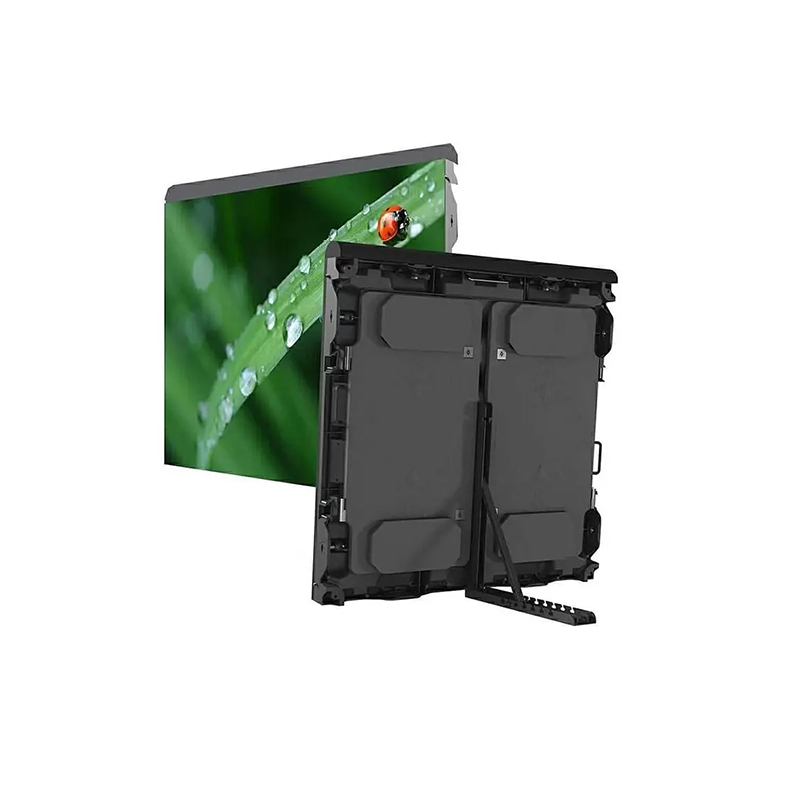
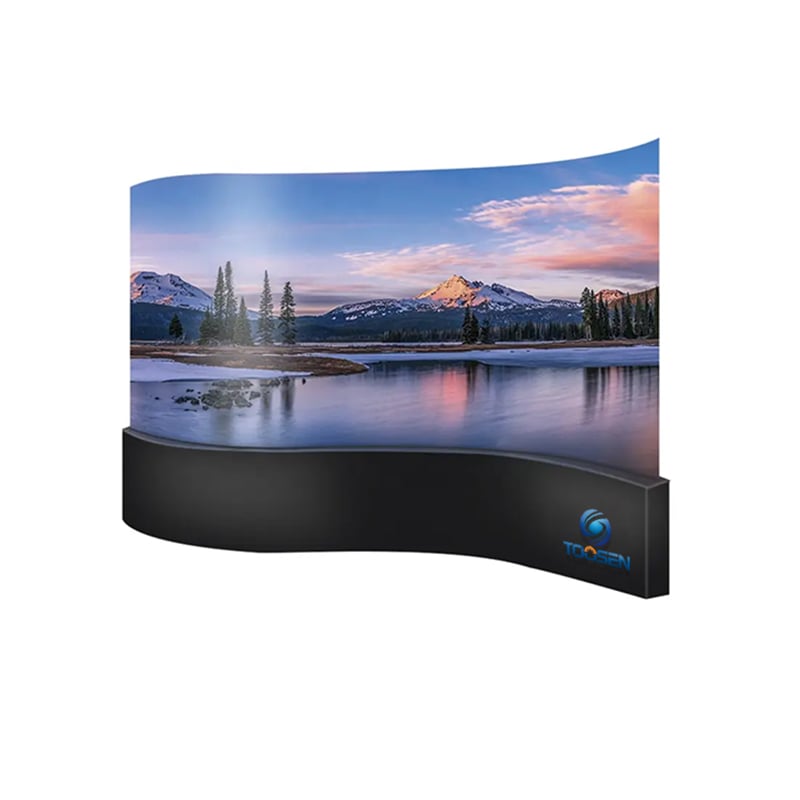
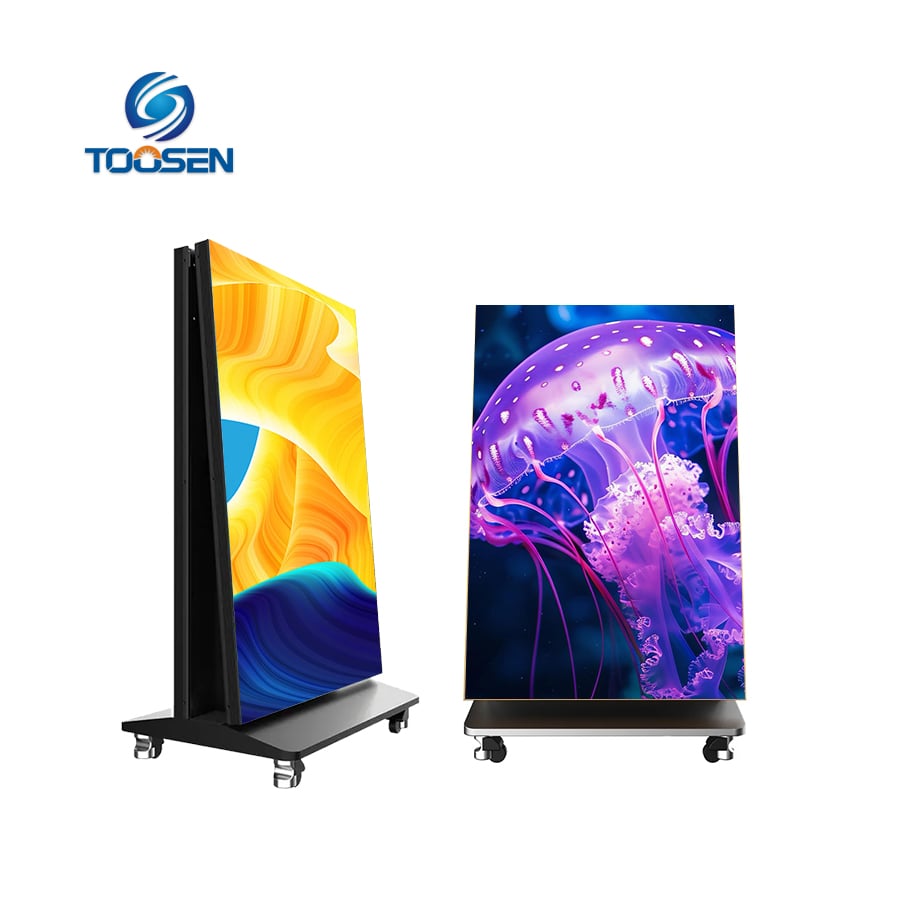
Készítse elő az alábbi eszközöket a szerelési folyamat megkezdése előtt:
Először válasszon egy tiszta, tágas és sík munkaterületet. Kerülje a páratartalmas vagy poros környezetet, mivel a nedvesség és a por károsíthatja az LED-alkatrészeket, és befolyásolhatja a teljesítményüket.
Ezután győződjön meg arról, hogy a munkaterület rendelkezik:
Egy jól előkészített munkaterület javítja a telepítés hatékonyságát, és csökkenti a későbbi lehetséges problémákat.
Először helyezze el az összes keretrészt a padlón a képernyő méretei szerint. Ezután használjon elektromos fúrógépet a rögzítési pontokon csatlakozási lyukak készítéséhez.
Ezután csavarokkal és anyákkal kösse össze a keretrészeket a szükséges szerkezet (általában téglalap) kialakításához. Az összeszerelés során mérőeszközöket vagy sarokfogókat használjon a pontos 90 fokos szögek megtartásához és a keret tökéletes igazításához.
A keret elkészülte után húzza meg biztonságosan az összes csavart, és ellenőrizze az egész szerkezet stabilitását.
Válasszon megfelelő helyet a kereten belül a tápegységek számára. Általában a telepítők a peremek vagy sarkok közelében helyezik el őket a hőelvezetés javítása és a kábelkezelés egyszerűsítése érdekében.
Ezután:
A továbblépés előtt használjon multimétert a kimeneti feszültség helyességének ellenőrzésére. Ha a feszültség rendellenesnek tűnik, azonnal ellenőrizze a tápegységet és a vezetékezést.
Ezután szerelje be a vezérlőkártyát a keret belsejébe. Ideális esetben helyezze el a tápegység és a külső jelbemenet területéhez közel, hogy a karbantartás és a bekötés egyszerűbb legyen.
A vezérlő felszerelése után:
A megfelelő vezérlő konfiguráció biztosítja a stabil kijelző működést üzemelés közben.
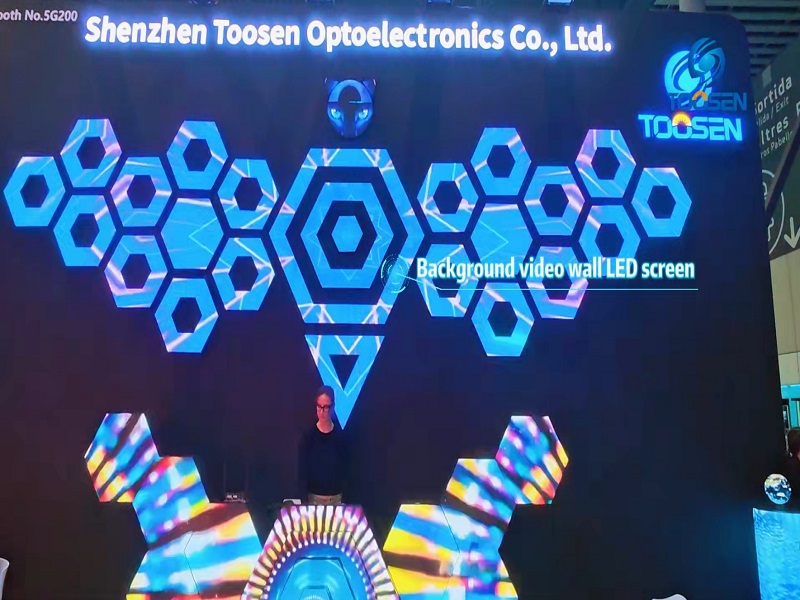
Most kezdje el a LED-modulok felszerelését.
Kezdje egyik sarokból a képernyőn, és helyezze be az első modult a keretbe. Ezután rögzítse csavarokkal vagy zárómechanizmusokkal, attól függően, hogy milyen kialakítású a modul.
Figyeljen nagyon oda a modul irányára, hogy megőrizze a megfelelő megjelenítési tájolást.
Következő:
A felszerelés során rendszeresen ellenőrizze a modulok illeszkedését és síkságát. A nem egyenletesen elhelyezett modulok negatívan befolyásolhatják a LED-képernyő vizuális megjelenését.
Miután az összes modult felszerelte, csatlakoztassa a tápegység kimeneti kábeleit mindegyik modul tápellátási bemeneti csatlakozójához.
Ezen a ponton:
Ezután rendezze el szépen az összes szalagkábelt és tápkábelt. A vezetékek rögzítéséhez használjon kötőszalagot vagy kábelcsatornát a vázhoz.
A megfelelő kábelkezelés számos előnnyel jár:
Miután az összes hardverkapcsolat elkészült, kapcsolja be a tápegységet.
Először figyelje meg a tápegységek és a vezérlőkártya jelzőfényeit:
Ha bármilyen rendellenes állapot jelenik meg, azonnal ellenőrizze a vezetékezést, a tápellátás csatlakozásait és a vezérlő beállításait.
Ezután használja az LED-vezérlő szoftvert egyszerű tesztadatok küldésére, például:
Gondosan ellenőrizze a kijelző működését.
Ha problémák lépnek fel, például:
Ezután lépésről lépésre vizsgálja a következőket:
A képernyő normál működéséig végezzen beállításokat.
Végül végezzen teljes ellenőrzést az egész LED-kijelző rendszeren.
Ellenőrizze az alábbi elemeket gondosan:
Ha bármilyen hibát észlel, javítsa azt a kijelző üzembe helyezése előtt.
Miután minden működését megerősítette, rendezze el a maradék eszközöket és anyagokat. Ezen a ponton befejeződött az LED-kijelző összeszerelési folyamata.
A Toosen tapasztalt LED-kijelző gyártóként, 12 éves ipari tapasztalattal egyedi LED-kijelző megoldásokat kínál minden méretű és formájú projekt számára.
A Toosen a következőket kínálja:
Erős műszaki szakértelemmel és professzionális támogatással a Toosen segít az ügyfeleknek hatékonyabban és biztonságosabban befejezni LED-kijelző projekteiket.
 EN
EN
 AR
AR
 BG
BG HR
HR
 CS
CS
 DA
DA
 NL
NL
 FI
FI FR
FR
 DE
DE EL
EL
 HI
HI
 IT
IT JA
JA
 KO
KO
 NO
NO PL
PL PT
PT RO
RO
 RU
RU
 ES
ES
 SV
SV
 TL
TL
 ID
ID
 SR
SR
 UK
UK VI
VI
 ET
ET
 HU
HU
 TH
TH
 TR
TR
 FA
FA
 AF
AF
 MS
MS
 GA
GA
 HY
HY
 AZ
AZ
 MN
MN
 UZ
UZ