Home > News > Industry News
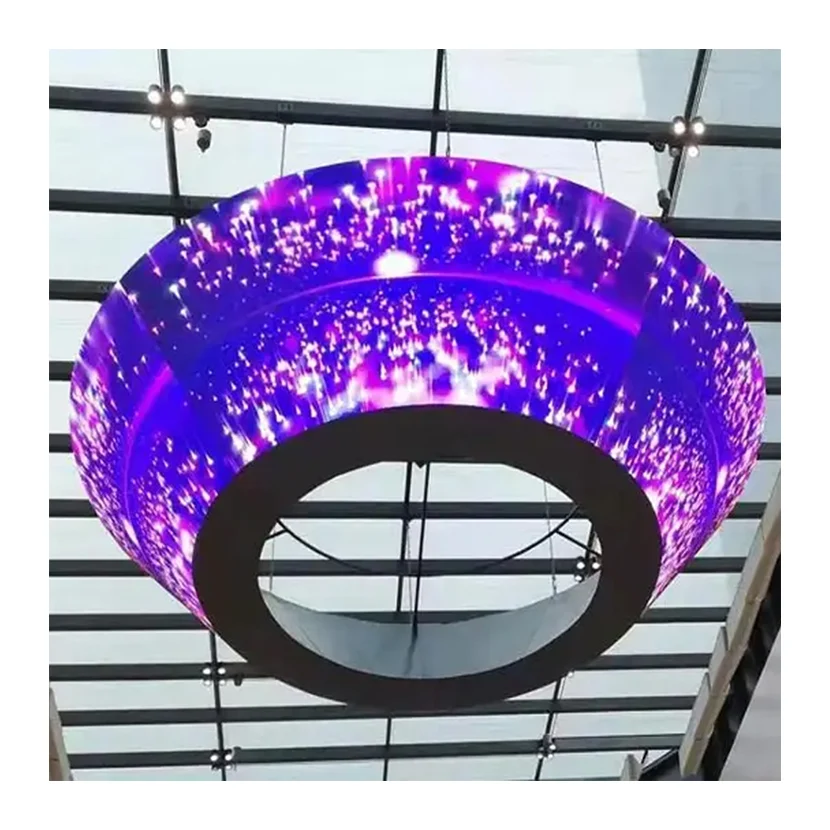
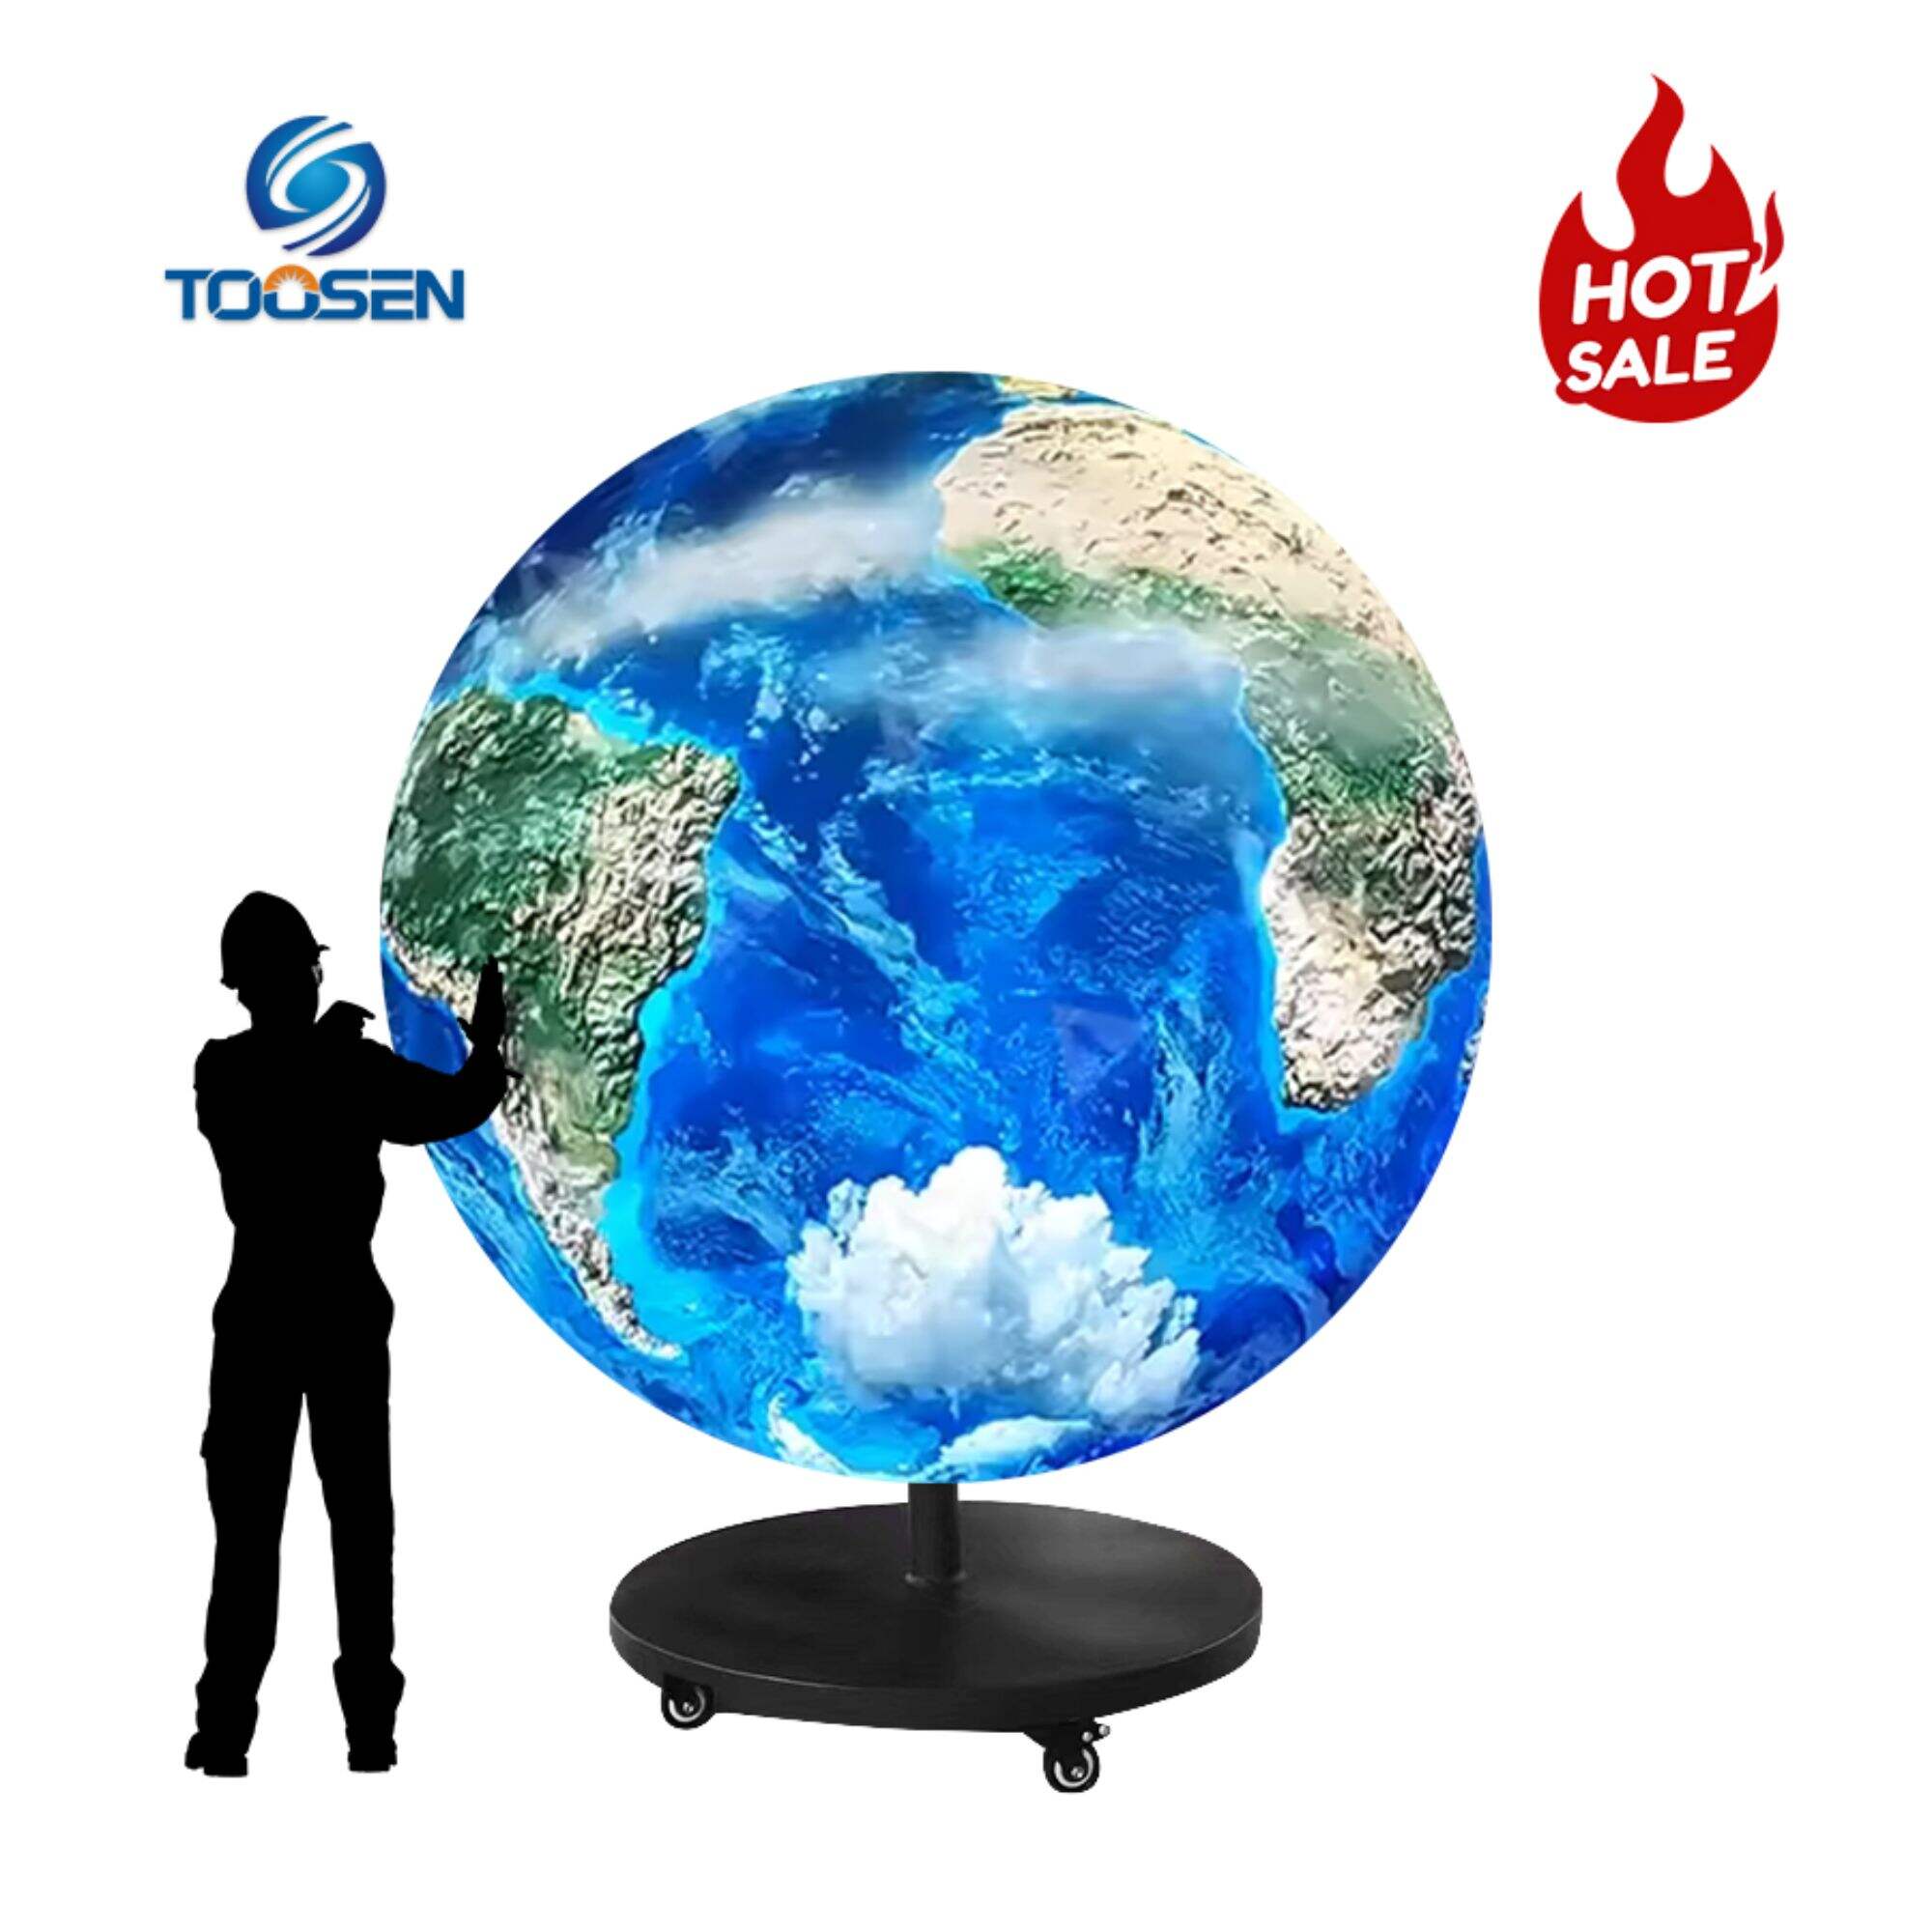
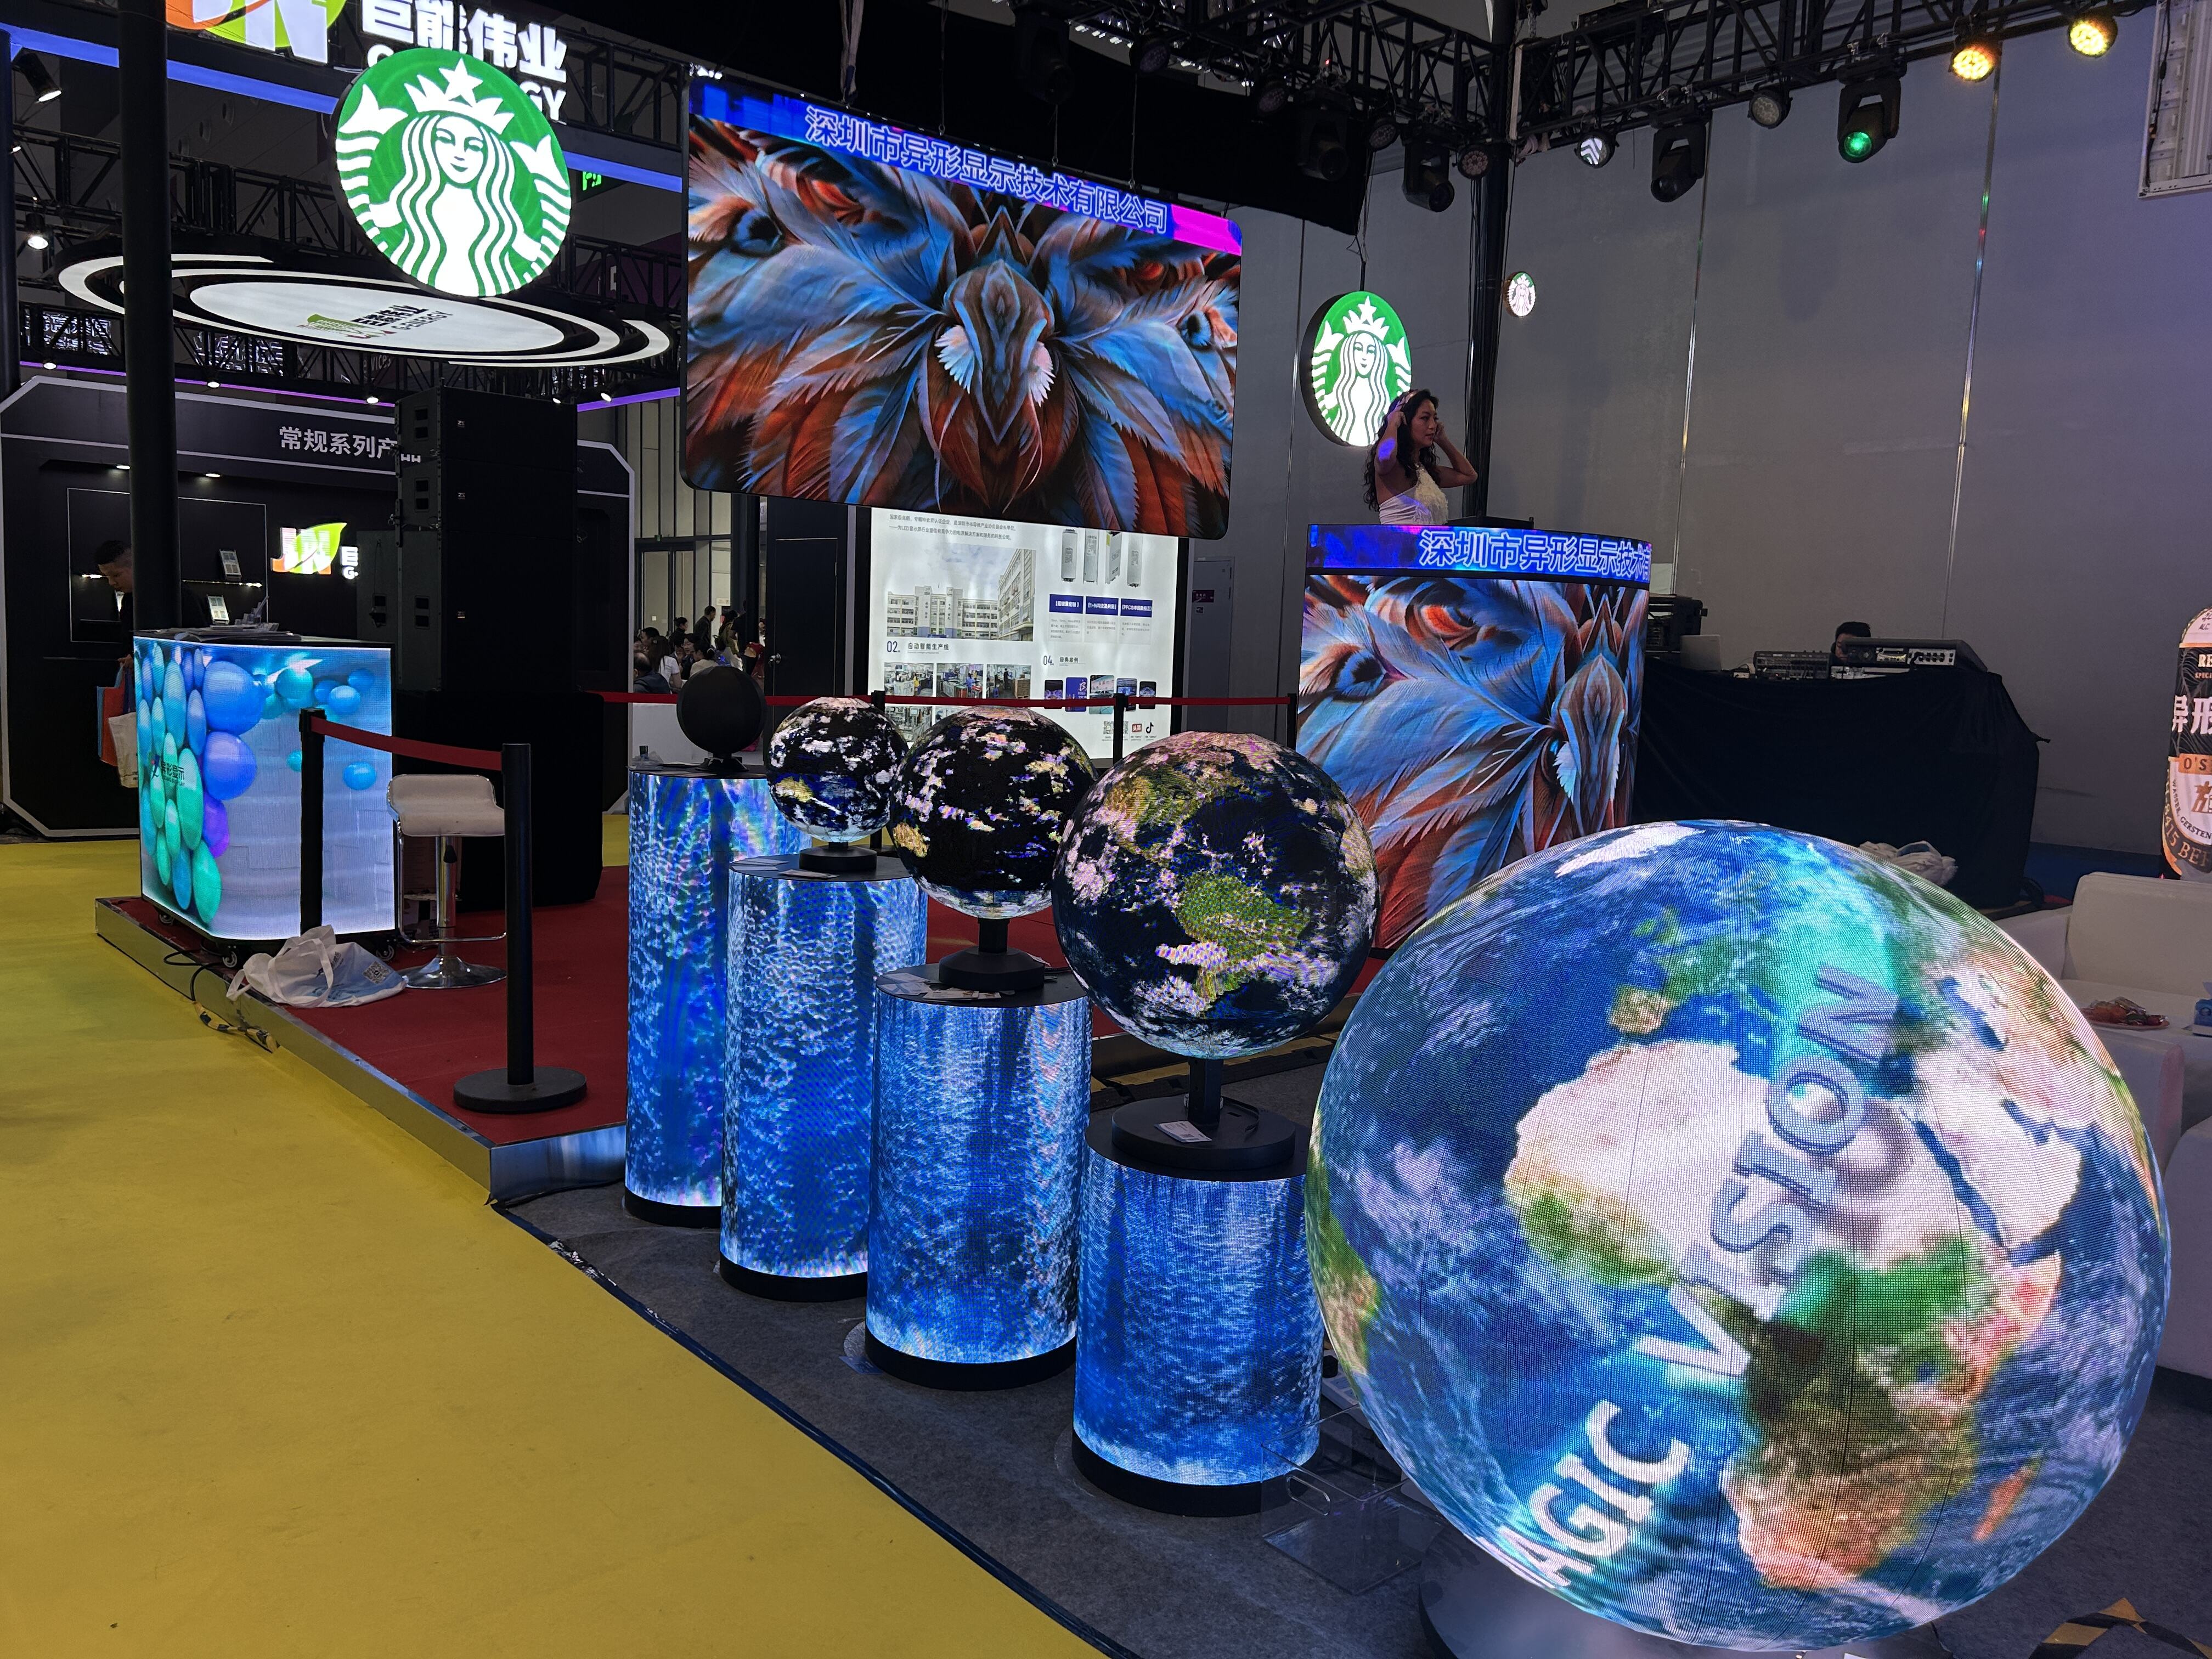
An LED spherical display delivers a striking 360-degree visual experience and is widely used in museums, science centers, exhibition halls, shopping malls, and immersive entertainment venues. However, because of its curved structure and complex pixel mapping, technicians must carefully debug the system before it goes into operation.
The commissioning process usually involves hardware inspection, software configuration, content testing, and long-term maintenance planning. Each stage ensures the spherical LED screen achieves uniform brightness, accurate color reproduction, and stable performance.
Before powering on the system, technicians should carefully inspect the entire hardware setup to ensure the display functions correctly.
First, install all LED modules according to the predefined design layout. Because spherical displays rely on curved structures, technicians must align each module precisely along the surface of the sphere. Proper alignment prevents visible gaps and ensures smooth image continuity.
At the same time, technicians should verify that neighboring modules maintain consistent brightness and color performance. Any mismatch can become highly visible on a curved surface.
Next, secure the supporting frame and mounting structure. A spherical LED screen often requires a custom metal frame or structural skeleton that maintains the precise geometry of the sphere.
The support system must remain stable under different environmental conditions. For example, outdoor installations should resist wind loads, while indoor installations must prevent vibration or structural movement that could affect the display alignment.
After completing the structural installation, technicians should configure the power distribution and signal transmission system.
This step includes connecting:
Power supplies
LED receiving cards
Sending controllers
Data cables and signal interfaces
Technicians should verify that the power system delivers stable voltage across all sections of the sphere. Meanwhile, they must confirm that the signal network transmits data accurately to every module.
Once the hardware system passes inspection, technicians can move on to software setup and visual testing.
First, initialize the LED display using the control software provided by the display manufacturer. During this stage, technicians configure several key parameters, including:
Screen resolution and pixel mapping
Refresh rate settings
Gray scale levels
Signal synchronization parameters
Because spherical displays use irregular pixel layouts, engineers must carefully map the content to match the physical structure of the sphere.
Next, technicians perform pixel-by-pixel calibration using professional calibration tools. This process balances brightness and color across the entire spherical surface.
Accurate calibration eliminates visible color differences between modules and ensures that images appear uniform when viewed from different angles.
After calibration, the team uploads test videos, images, or animation sequences to evaluate the display performance. During this step, technicians check for common issues such as:
Image distortion
Pixel misalignment
Incorrect mapping
Signal delay between modules
If problems appear, they adjust the mapping parameters or control settings until the image displays smoothly across the sphere.
 EN
EN
 AR
AR
 BG
BG
 HR
HR
 CS
CS
 DA
DA
 NL
NL
 FI
FI
 FR
FR
 DE
DE
 EL
EL
 HI
HI
 IT
IT
 JA
JA
 KO
KO
 NO
NO
 PL
PL
 PT
PT
 RO
RO
 RU
RU
 ES
ES
 SV
SV
 TL
TL
 ID
ID
 SR
SR
 UK
UK
 VI
VI
 ET
ET
 HU
HU
 TH
TH
 TR
TR
 FA
FA
 AF
AF
 MS
MS
 GA
GA
 HY
HY
 AZ
AZ
 MN
MN
 UZ
UZ