Home > News > Industry News
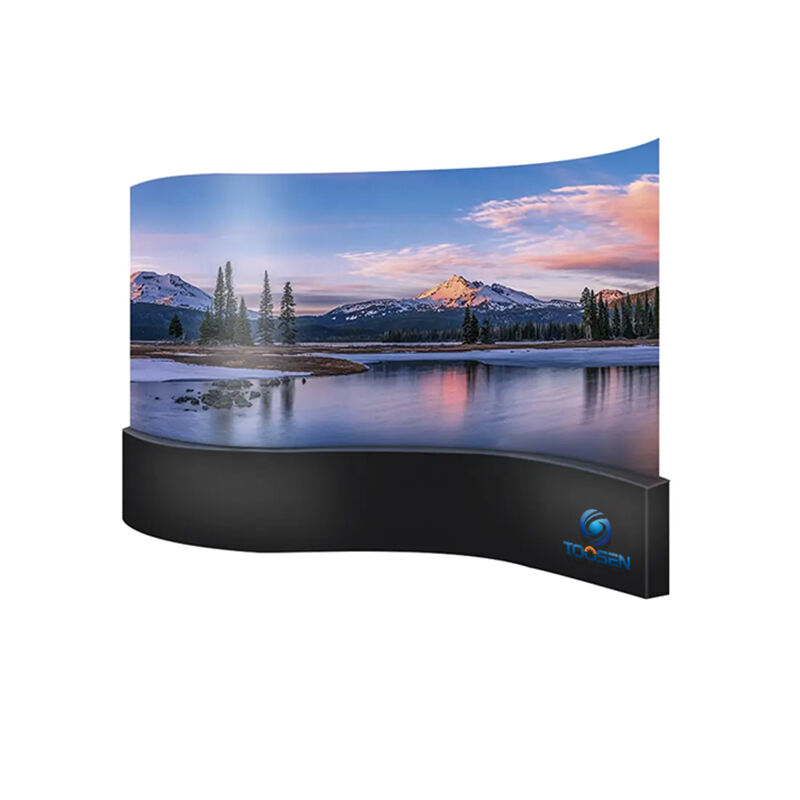
Standard rectangular LED screens are great, but irregular-shaped LED displays (like curves, spheres, or wave designs) are the real showstoppers. However, because they don't follow a straight line, installing them is a lot more complex. If the precision is off by even a few millimeters, the whole image looks distorted.
This guide breaks down the essential steps to ensure your creative LED project is a success, from the first measurement to the final power-on.
Success starts long before you pick up a screwdriver. You need to collect precise data to make sure the custom screen actually fits the space.
Site Survey: Use 3D laser scanners or total stations to measure the installation surface. You need to know the exact curvature, angles, and load-bearing capacity of the wall or ceiling.
Check the Environment: Note the material of the wall (concrete, steel, or wood) and locate power sources. For outdoor projects, always check wind resistance and lightning protection needs.
Custom Design: This stage takes 3–4 weeks. Engineers design custom steel frames and choose specific modules—like flexible modules for curves or triangular modules for spheres.
An irregular screen is only as good as the frame holding it. Precision is the top priority here.
Frame Installation: We recommend pre-assembling the frame on the ground first to check the fit. Once you move it to the final position, use laser levels to ensure the hole deviation is less than ±1.5mm.
Accuracy Matters: For curved or circular screens, the error per meter should be less than 2mm.
Reinforcement: If the screen is high up or outdoors, add diagonal braces and anti-wind cables. Use high-strength bolts (Grade 8.8 or higher) to keep everything locked in place.
This is where the magic happens. Since these aren't standard blocks, you have to be extra careful with the alignment.
Start with a Baseline: Use a laser line to find your center point. Install the first module perfectly, as every other piece relies on it.
Constant Checking: Don't wait until the end to check your work. After every 3 to 5 modules, use a 3D scanner or radius gauge to verify the shape.
Manage the Gaps: Keep the gaps between modules under 1.5mm. For flexible screens, leave about 10% extra cable length so the wires don't snap when the screen bends.
Irregular shapes often create tight spaces, so cable management is crucial.
Separate Your Lines: Keep power cables and signal lines at least 10cm apart to prevent electromagnetic interference.
Weatherproofing: If the screen is outside, use IP65-rated power boxes and seal every cable entry point with waterproof glue.
Grounding: Ensure the steel structure is properly grounded. The resistance should be less than 4Ω to protect the electronics from lightning or power surges.
Once the screen is "on," it might look a bit messy because of the unique shape. This is where software takes over.
Geometric Correction: Use professional calibration software to "flatten" the image digitally. This ensures that a circle looks like a circle, even on a wavy or spherical surface.
Color Uniformity: Adjust the white balance across all modules to eliminate any "patchy" looks or color differences between batches.
The Burn-in Test: Run the screen continuously for 24 to 48 hours. This helps identify any weak pixels or overheating issues before the grand opening.
Different shapes require different tricks:
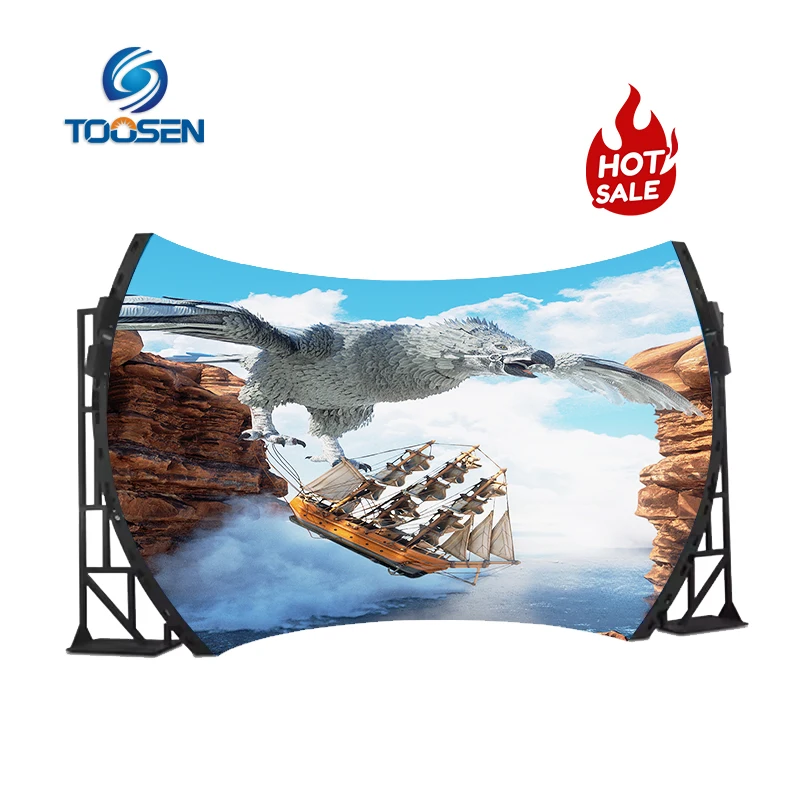
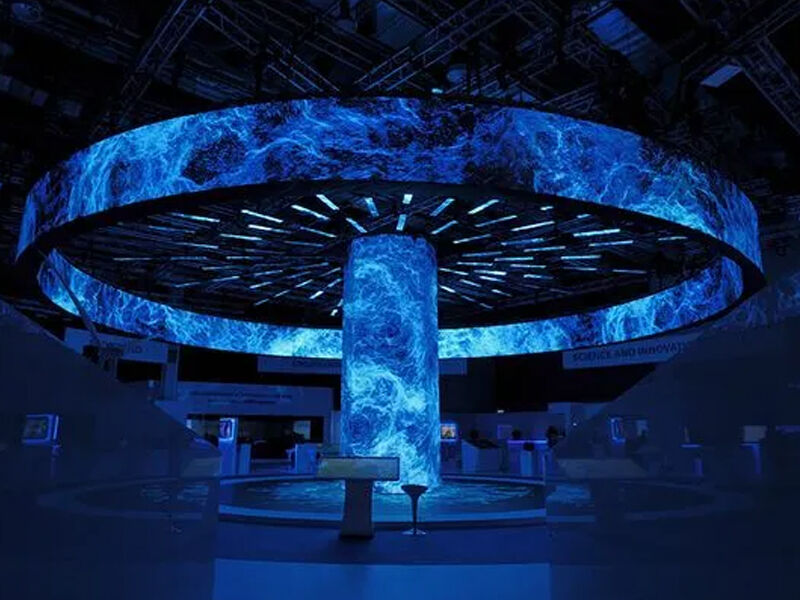
Curved Screens: Use custom arc frames. The outer radius should stay above 50cm for the best look.
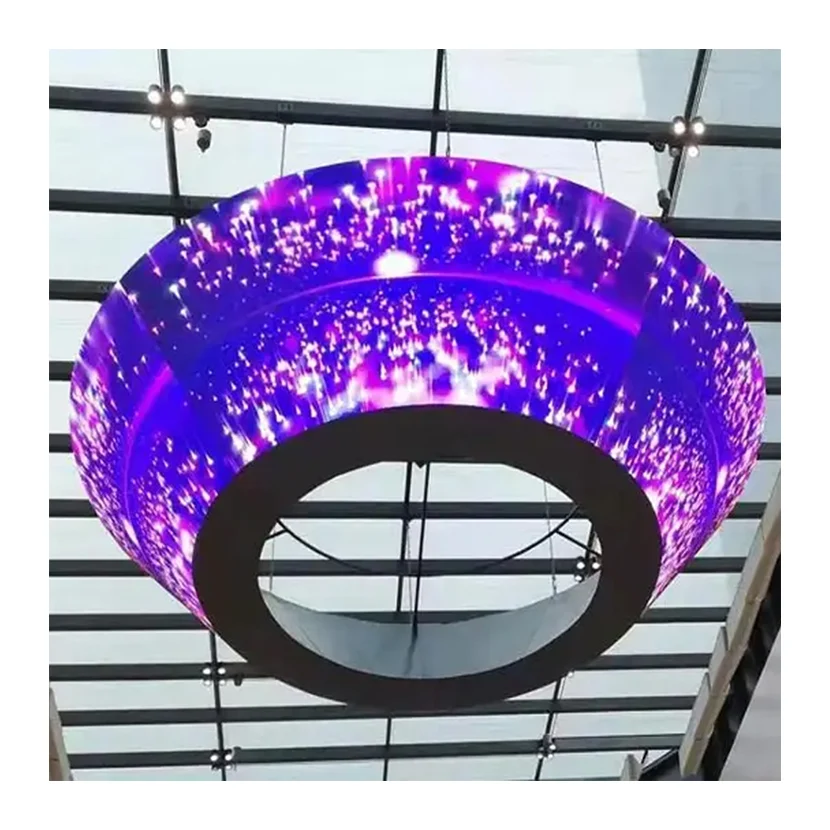
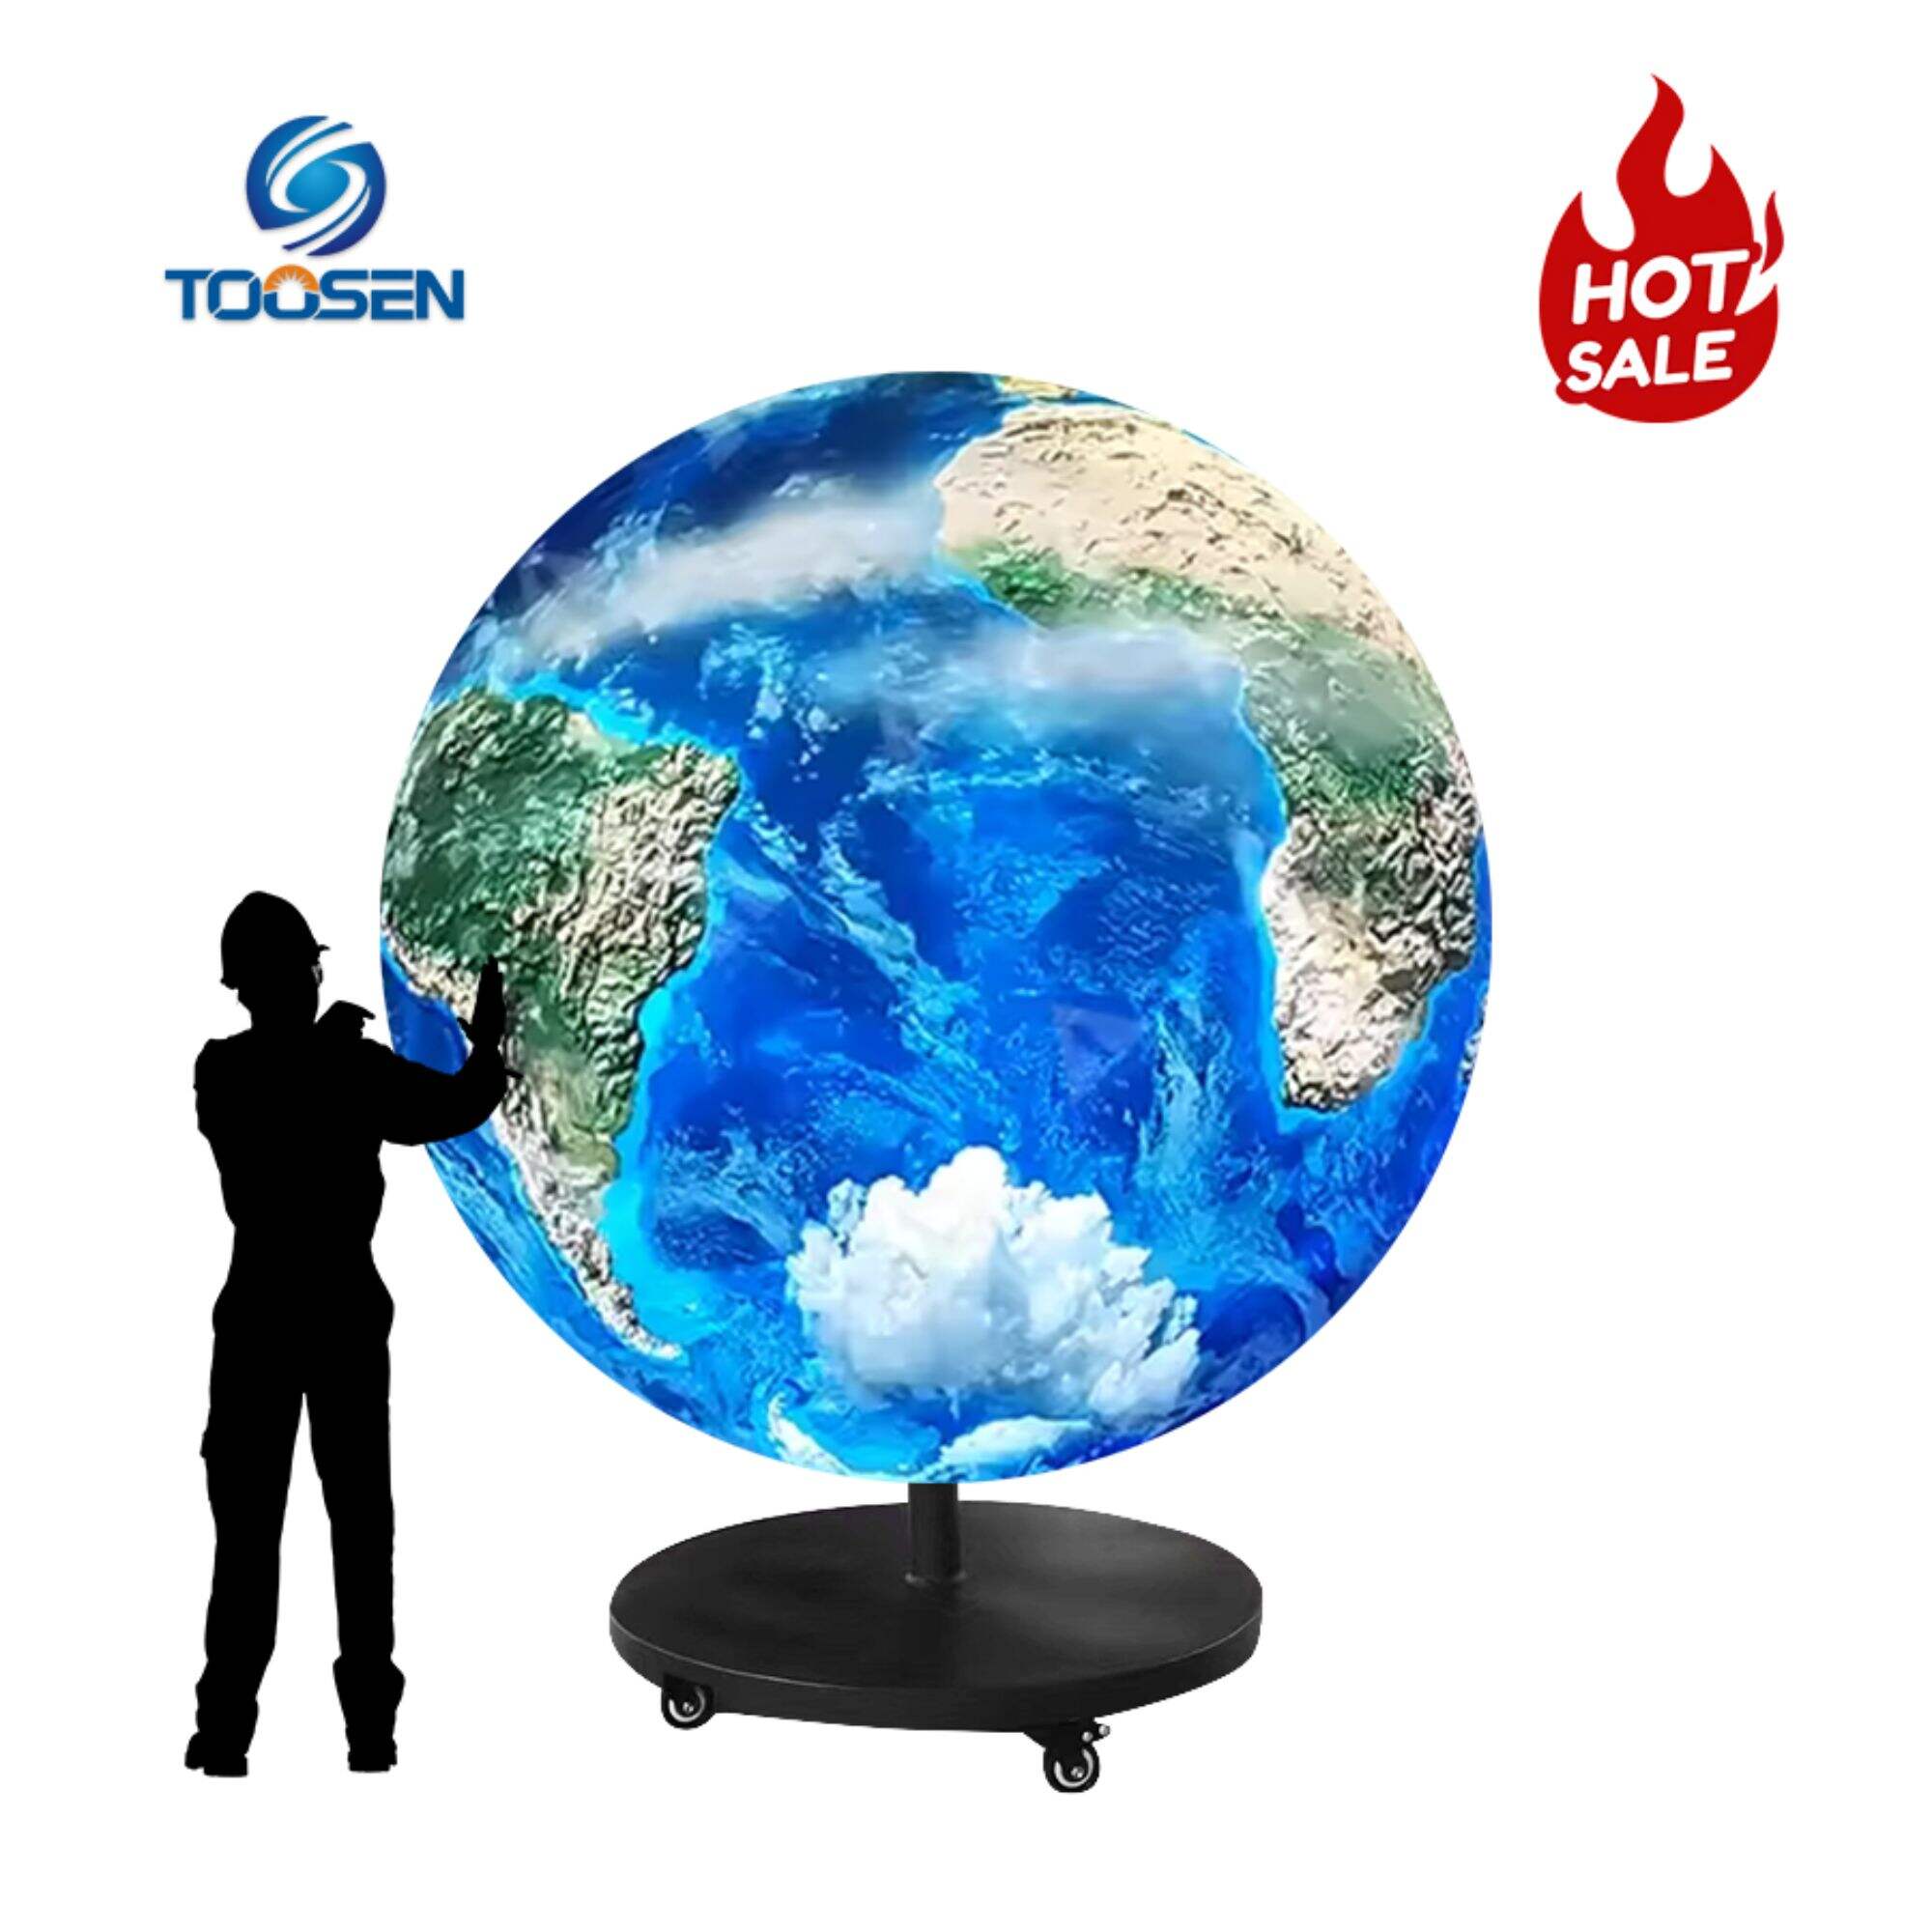
Spheres: Use a "latitude and longitude" frame design and install modules in rings from top to bottom.
Ceiling/Hanging Screens: Focus on weight distribution. Calculate the load for every hanging point to prevent sagging.
Installing an irregular LED display is a mix of high-tech engineering and careful craftsmanship. Always prioritize precision and safety over speed. If the structure is solid and the calibration is tight, your screen will look seamless from every angle.
 EN
EN
 AR
AR
 BG
BG
 HR
HR
 CS
CS
 DA
DA
 NL
NL
 FI
FI
 FR
FR
 DE
DE
 EL
EL
 HI
HI
 IT
IT
 JA
JA
 KO
KO
 NO
NO
 PL
PL
 PT
PT
 RO
RO
 RU
RU
 ES
ES
 SV
SV
 TL
TL
 ID
ID
 SR
SR
 UK
UK
 VI
VI
 ET
ET
 HU
HU
 TH
TH
 TR
TR
 FA
FA
 AF
AF
 MS
MS
 GA
GA
 HY
HY
 AZ
AZ
 MN
MN
 UZ
UZ