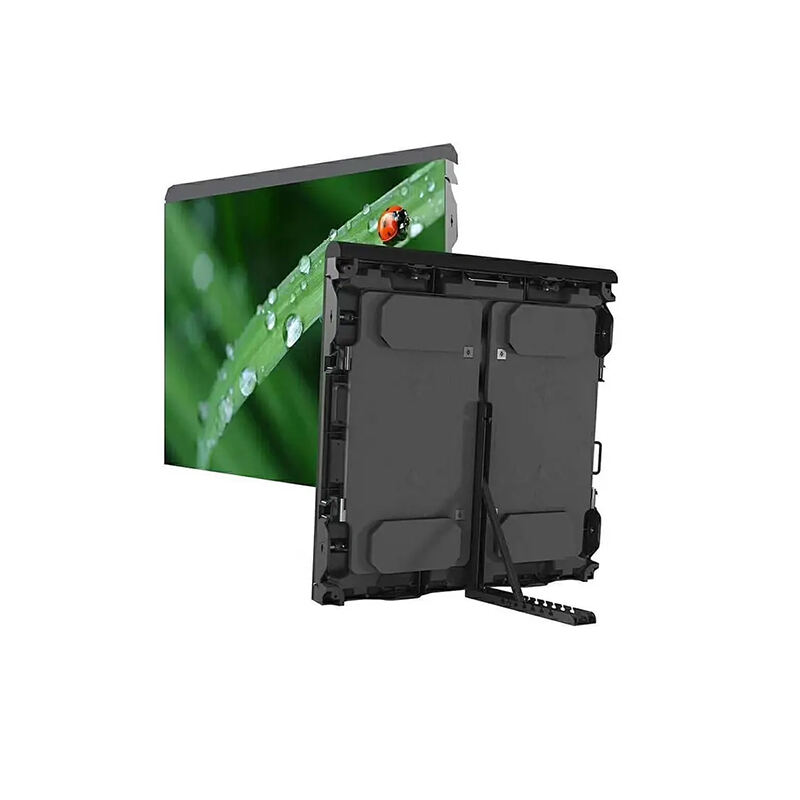
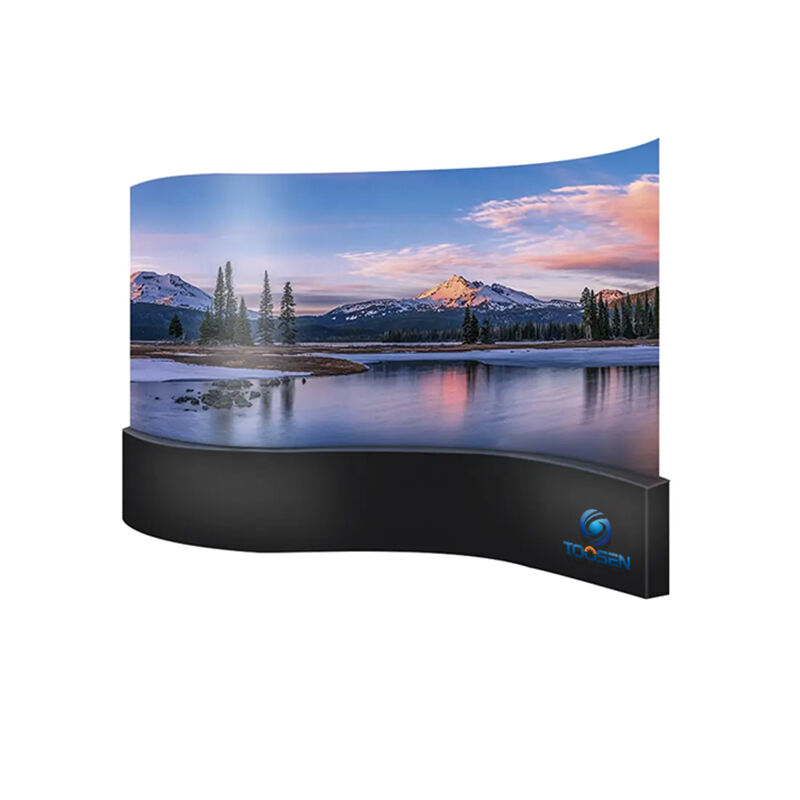
Zakrzywione ściany LED stają się coraz bardziej popularne w studiosach produkcji wirtualnej, środowiskach nadawczych, immersyjnych wystawach oraz wysokiej klasy wyświetlaczach detalicznych . Dobrze zaprojektowana krzywizna zapewnia szerszy kąt widzenia, poprawia wrażenie zanurzenia wizualnego oraz zmniejsza widoczność szwów między panelami. Jednak podczas etapu planowania często pojawia się jedno pytanie: jak określić odpowiednią krzywiznę zakrzywionej ściany LED?
Wielu specjalistów zadaje to pytanie na forach branżowych, ponieważ producenci ekranów LED często wymagają podania konkretnej specyfikacji krzywizny, podczas gdy zakupujący mogą nie wiedzieć, jak ją zdefiniować. W praktyce określenie odpowiedniej krzywizny wiąże się z kilkoma aspektami technicznymi, w tym: promieniem krzywizny, kątem regulacji obudowy, wymiarami ekranu oraz celami instalacji . Zrozumienie tych czynników pozwala zaprojektować zakrzywioną ścianę LED, która będzie dobrze funkcjonować zarówno pod względem wizualnym, jak i konstrukcyjnym.
Przed wybraniem krzywizny ważne jest zrozumienie, w jaki sposób przemysł opisuje wyświetlacze zakrzywione. W większości projektów ścian LED krzywizna odnosi się do promienia łuku tworzącego ekran .
Na przykład mogą pojawić się takie określenia jak:
1000R
1500R
2000R
Litera „R” oznacza promień promień, mierzony w milimetrach. Mniejszy promień oznacza bardziej stromą krzywiznę , podczas gdy większy promień tworzy łagodniejszą krzywą .
Jednak wiele ścian LED nie opiera się wyłącznie na tej specyfikacji typu monitor. Zamiast tego instalatorzy często definiują krzywiznę za pomocą kątów kaset LED . Każda kasa LED łączy się z kolejną małym, regulowanym kątem, a te stopniowe kąty tworzą w sumie cały łuk ściany.
Ze względu na taką konstrukcję końcowa krzywizna zależy zarówno od liczby kaset i jak i ich regulowanych kątów .
Wymiary ekranu mają duży wpływ na decyzje dotyczące krzywizny. Duże ściany LED często wymagają bardziej subtelnej krzywizny, podczas gdy mniejsze instalacje mogą korzystać z ostrzejszych łuków.
Na przykład niektóre studia wirtualnej produkcji planują ściany otaczające o szerokości 12 metrów i wysokości 4 metry . W przypadku konstrukcji o takich rozmiarach projektanci zwykle preferują umiarkowane zakrzywienie. Łagodna krzywizna zapewnia poczucie zanurzenia, unikając przy tym nadmiernej deformacji obrazu na kamerze.
Z drugiej strony mniejsze instalacje — takie jak te stosowane na targach branżowych lub w środowiskach detalicznych — mogą wykorzystywać silniejsze zakrzywienie, aby stworzyć efektowne efekty wizualne.
Dlatego zawsze należy najpierw określić szerokość ekranu . Następnie należy obliczyć zakrzywienie zapewniające pożądane wrażenia podczas oglądania.
Innym kluczowym czynnikiem jest zakres regulacji kąta szaf LED . Większość profesjonalnych szaf LED umożliwia niewielkie mechaniczne regulacje między panelami.
Typowe zakresy obejmują:
±2.5°
±5°
±10° (w niektórych specjalizowanych szafach)
Każda szafa łączy się z kolejną pod określonym kątem. Gdy instalatorzy powtarzają ten kąt w wielu szafach, ściana stopniowo tworzy powierzchnię zakrzywioną.
Na przykład:
20 szaf × kąt 2° = łączny łuk 40°
24 szaf × kąt 3° = łączny łuk 72°
Dlatego przy projektowaniu zakrzywionej ściany LED należy zawsze sprawdzić maksymalny kąt, który obsługuje każda szafa ograniczenie to bezpośrednio określa najmniejszy promień krzywizny, przy którym można bezpiecznie wykonać zakręt.
Gdy znasz całkowitą długość łuku oraz szerokość ekranu, możesz oszacować promień zakrzywionej ściany .
Projektanci często korzystają z podstawowej geometrii łuku:
Długość łuku = szerokość ekranu
Kąt = całkowity kąt szafki
Promień = długość łuku ÷ kąt (w radianach)
To obliczenie pomaga wizualizować krzywiznę i zapewnia, że ekran zmieści się w przewidzianej przestrzeni montażowej.
Jednak wielu inżynierów upraszcza ten proces, tworząc modele 3D w oprogramowaniu takim jak:
Narzędzia CAD
Mieszanka
Unreal Engine (do środowisk wirtualnej produkcji)
Narzędzia te pozwalają projektantom testować krzywiznę, kąty kamery oraz luz konstrukcyjny przed rozpoczęciem montażu.
Różne zastosowania wymagają różnych poziomów krzywizny. Zamiast wybierać krzywiznę przypadkowo, dopasuj ją do celu wizualnego ściany LED .
Sceny wirtualnej produkcji często wykorzystują duże zakrzywione objętości LED. Umiarkowana krzywizna otacza kamerę i przyczynia się do tworzenia naturalnych odbić na aktorach i obiektach. Projektanci czasem łączą zakrzywioną ścianę z Panelami sufitowymi LED poprawić realizm oświetlenia.
Środowiska nadawcze zwykle wykorzystują łagodne krzywizny . Takie rozwiązanie zapewnia widoczność ekranu z wielu kątów kamery, zachowując przy tym czystą estetykę studia.
Kreatywne instalacje mogą wykorzystywać silniejszą krzywiznę w celu przyciągnięcia uwagi oraz stworzenia immersyjnych efektów wizualnych. W takich środowiskach dramatyczne kształty często odgrywają kluczową rolę w budowaniu marki i opowiadaniu historii.
Jedną z najważniejszych lekcji wynikających z rzeczywistych projektów jest prosta zasada: zawsze modeluj zakrzywioną ścianę LED przed jej budową .
modelowanie 3D pozwala Ci:
zweryfikować krzywiznę
obliczyć liczbę szafek
sprawdzić wolną przestrzeń pod sufitem
symulować punkty widzenia aparatu
Bez wykonania tego kroku zespoły mogą odkryć problemy konstrukcyjne w trakcie montażu, co może opóźnić realizację projektu i zwiększyć koszty.
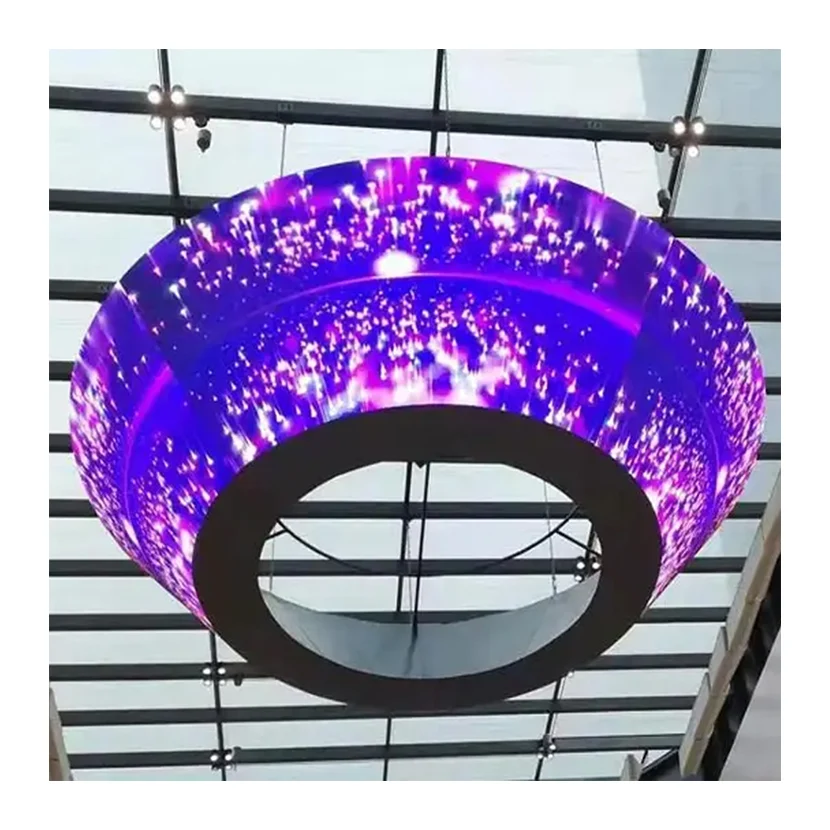
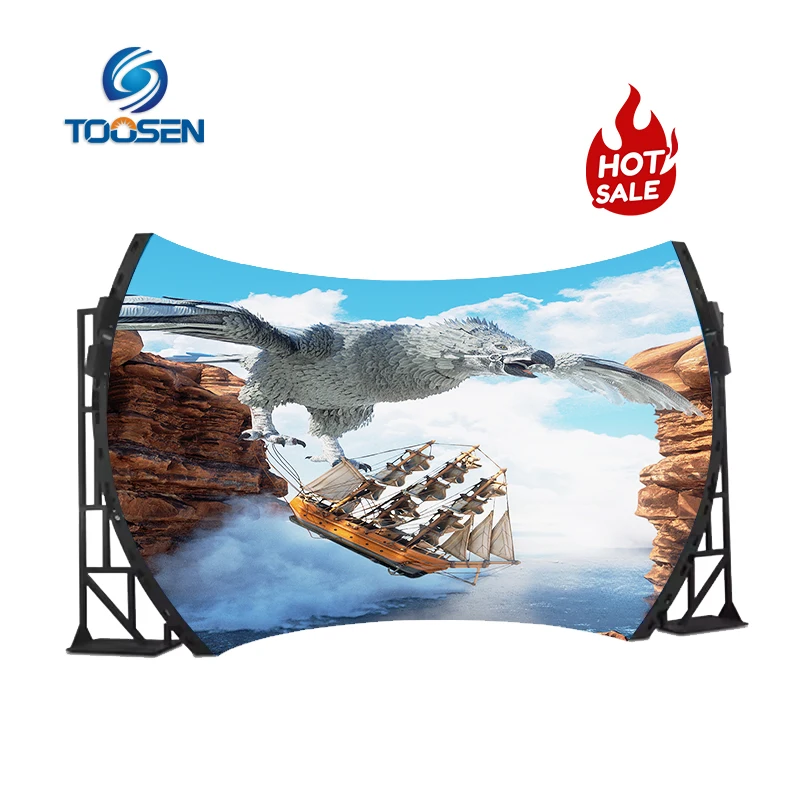
Zakrzywione ściany LED często wymagają niestandardowego projektu szafek, precyzyjnych konstrukcji mechanicznych oraz zaawansowanego planowania montażu dlatego wiele projektów polega na producentach specjalizujących się w kreatywnych lub niestandardowych wyświetlaczach LED.
Firmy takie jak TOOSEN skupiają się na niestandardowych rozwiązaniach LED, w tym wygiętych ścianach LED, sferycznych wyświetlaczach LED, okrągłych ekranach LED oraz innych instalacjach LED o nietypowych kształtach poprzez połączenie inżynierii konstrukcyjnej z elastycznymi modułami LED producenci niestandardowi mogą tworzyć ekrany dopasowane do określonego promienia krzywizny oraz wymagań architektonicznych.
Takie podejście pozwala projektantom wyjść poza standardowe płaskie ściany LED i tworzyć bardziej immersyjne środowiska wizualne.
Określenie odpowiedniej krzywizny dla wygiętej ściany LED wymaga więcej niż wybrania przypadkowego promienia. Zamiast tego w udanych projektach analizuje się kilka czynników technicznych, w tym:
wymiary ekranu
dostosowanie kąta szafek
całkowity kąt łuku
przestrzeń instalacyjna
wymagania dotyczące aplikacji
Gdy starannie zaplanujesz te elementy oraz uprzednio zamodelujesz konstrukcję, możesz zaprojektować wygiętą ścianę LED, która zapewnia zarówno silny wpływ wizualny i niezawodna wydajność .
Gdy wyświetlacze zakrzywione nadal ewoluują w zakresie wirtualnej produkcji, wystaw oraz przestrzeni komercyjnych , opanowanie projektowania zakrzywienia pozostanie niezbędną umiejętnością zarówno dla inżynierów zajmujących się wyświetlaczami LED, jak i dla projektantów kreatywnych.
 EN
EN
 AR
AR
 BG
BG
 HR
HR
 CS
CS
 DA
DA
 NL
NL
 FI
FI
 FR
FR
 DE
DE
 EL
EL
 HI
HI
 IT
IT
 JA
JA
 KO
KO
 NO
NO
 PL
PL
 PT
PT
 RO
RO
 RU
RU
 ES
ES
 SV
SV
 TL
TL
 ID
ID
 SR
SR
 UK
UK
 VI
VI
 ET
ET
 HU
HU
 TH
TH
 TR
TR
 FA
FA
 AF
AF
 MS
MS
 GA
GA
 HY
HY
 AZ
AZ
 MN
MN
 UZ
UZ