Écrans LED relèvent des produits électroniques et, comme tout appareil électronique, ils peuvent présenter des défaillances au fil du temps. Puisqu’un écran LED se compose de plusieurs modules fonctionnant ensemble, comprendre sa structure et ses problèmes courants vous permet de diagnostiquer les pannes plus efficacement.
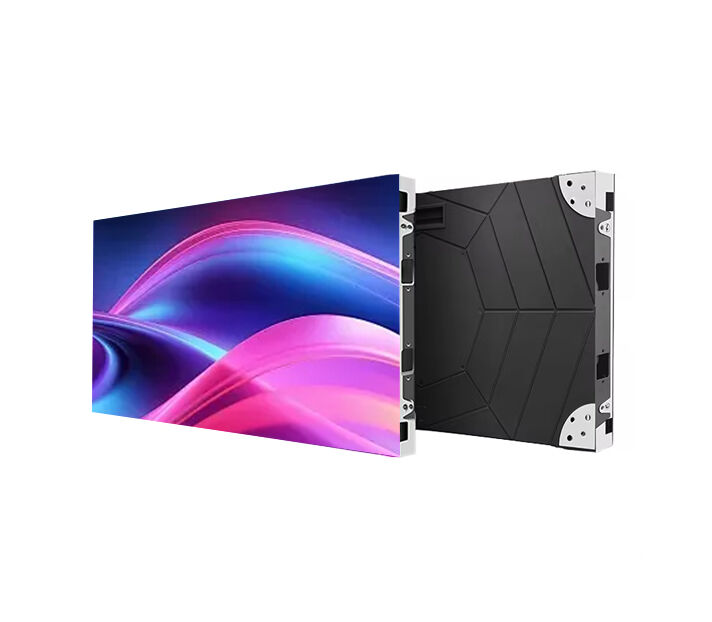
Un module d’affichage LED comprend principalement trois parties :
Dans cette optique, examinons les problèmes les plus fréquents ainsi que les techniques pratiques de réparation.
Avant de commencer, préparez votre trousse à outils de base. La plupart des techniciens utilisent cinq outils essentiels :
En outre, tenez à portée les matériaux complémentaires nécessaires, tels que le fil de soudure, la pâte à souder, le fil de cuivre et la colle.
les « pixels morts » désignent une ou plusieurs LED qui ne s’allument pas. Parfois, l’ensemble de la LED cesse de fonctionner ; dans d’autres cas, seules certaines couleurs ne fonctionnent pas.
Dans la plupart des cas, ce problème est causé par des dommages liés à l’humidité ou par une puce RGB défectueuse. Heureusement, la réparation est simple : retirez la LED défectueuse à l’aide d’un pistolet à air chaud et de pinces, puis remplacez-la par une nouvelle provenant de vos pièces de rechange. Ensuite, effectuez un test complet à l’aide d’une carte de test pour confirmer le bon fonctionnement.
Les techniciens décrivent souvent ce phénomène sous le nom d’« effet chenille ». Il se manifeste par une bande de LED faiblement lumineuses ou allumées—généralement rouges—lorsque l’écran est sous tension sans signal d’entrée.
Deux causes principales provoquent ce problème :
Pour résoudre la fuite au niveau des puces, déplacez lentement un pistolet à air chaud le long de la bande concernée. Lorsque vous chauffez la LED défectueuse, l’expansion temporaire peut stopper la fuite. Toutefois, il s’agit d’une solution provisoire uniquement. Vous devez identifier la LED défectueuse et la remplacer afin d’éliminer complètement le risque.
Si le problème provient d’un court-circuit dans le circuit intégré (CI), utilisez un multimètre pour vérifier les broches concernées. Une fois le défaut localisé, remplacez le CI endommagé.
Parfois, l’écran affiche une zone carrée présentant des couleurs incorrectes ou absentes. Ce problème indique généralement un CI de contrôle des couleurs défectueux.
Pour le réparer, retirez le CI défectueux et installez-en un neuf. Après le remplacement, testez le module afin de garantir une cohérence des couleurs sur tout l’affichage.
Un écran noir peut affecter un seul module ou une grande section de l’affichage. Lorsque seuls quelques modules s’assombrissent, il s’agit d’un écran partiellement noir. Lorsque de nombreux modules tombent en panne, le problème devient généralisé.
Commencez le dépannage par l’alimentation électrique :
Les problèmes d’affichage brouillé se manifestent par des couleurs clignotantes aléatoires ou des motifs chaotiques dans une zone spécifique. Ce type de problème étant généralement plus complexe, vous devez l’aborder étape par étape.
Tout d’abord, vérifiez la transmission du signal :
En pratique, les câbles à ruban fabriqués en alliage d’aluminium-magnésium présentent une fiabilité moindre, tandis que les câbles en cuivre pur offrent une durée de vie plus longue.
Si toutes les connexions semblent en bon état, remplacez le module défectueux par un module fonctionnel situé à proximité. Cette méthode vous permet de déterminer rapidement si le module lui-même est défectueux. Dans la plupart des cas, la panne provient d’un circuit intégré (CI). Comme les problèmes liés aux circuits intégrés peuvent être complexes, contacter le fournisseur pour obtenir une assistance technique supplémentaire permet souvent de gagner du temps.
En résumé, une maintenance efficace des écrans LED repose sur un dépannage systématique et l’utilisation des bons outils. En identifiant la cause racine — qu’il s’agisse des LED, des circuits intégrés (CI), de l’alimentation électrique ou de la transmission du signal — vous pouvez résoudre la plupart des problèmes rapidement et prolonger la durée de vie de votre écran.
 EN
EN
 AR
AR
 BG
BG
 HR
HR
 CS
CS
 DA
DA
 NL
NL
 FI
FI
 FR
FR
 DE
DE
 EL
EL
 HI
HI
 IT
IT
 JA
JA
 KO
KO
 NO
NO
 PL
PL
 PT
PT
 RO
RO
 RU
RU
 ES
ES
 SV
SV
 TL
TL
 ID
ID
 SR
SR
 UK
UK
 VI
VI
 ET
ET
 HU
HU
 TH
TH
 TR
TR
 FA
FA
 AF
AF
 MS
MS
 GA
GA
 HY
HY
 AZ
AZ
 MN
MN
 UZ
UZ